Retro Genie
United Kingdom
Member
Mitglied seit Apr 2011
Letzter Login 10/06/2023 12:15 UTC

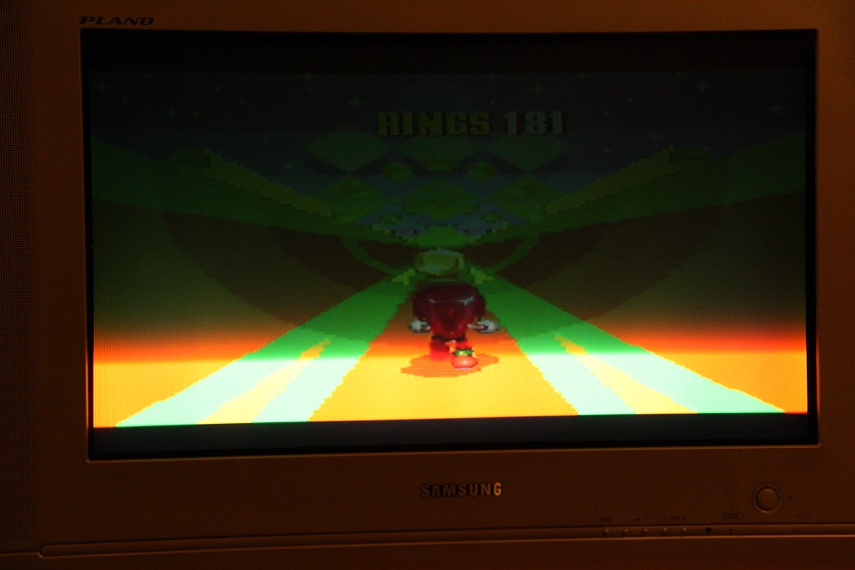
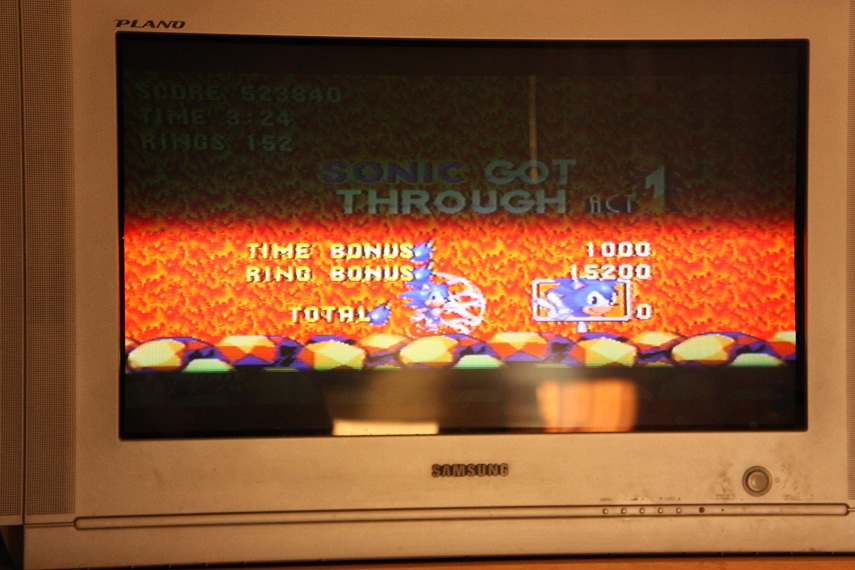
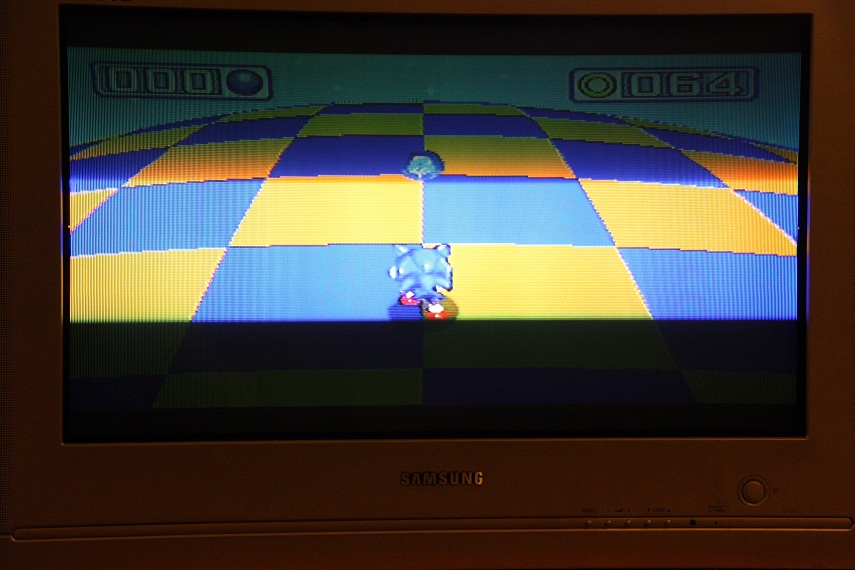
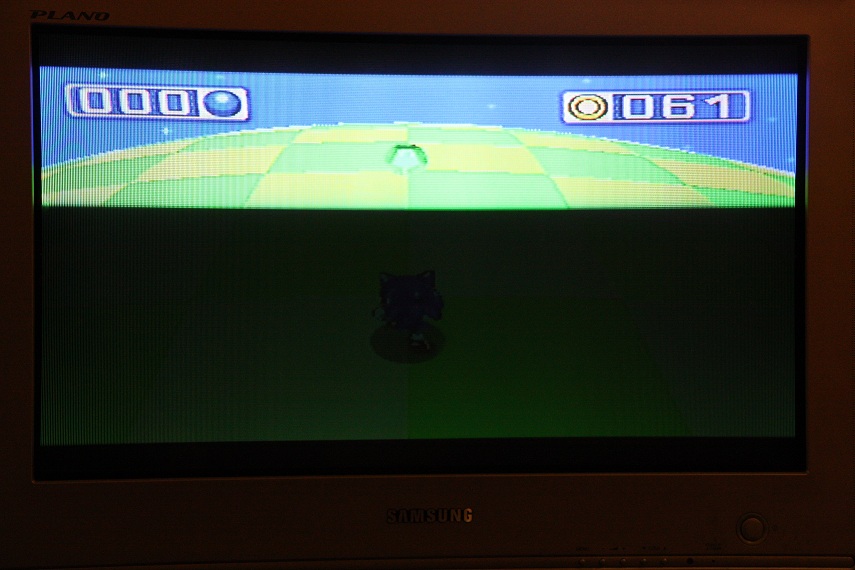
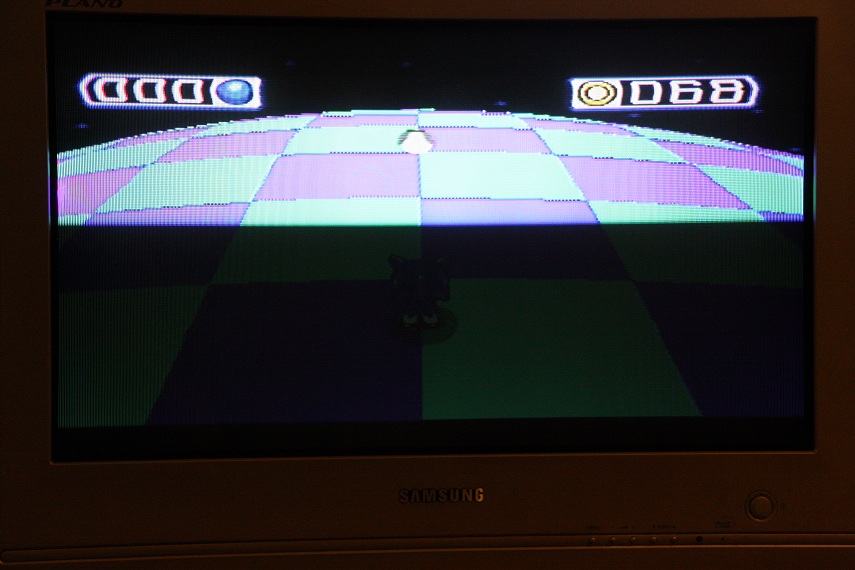
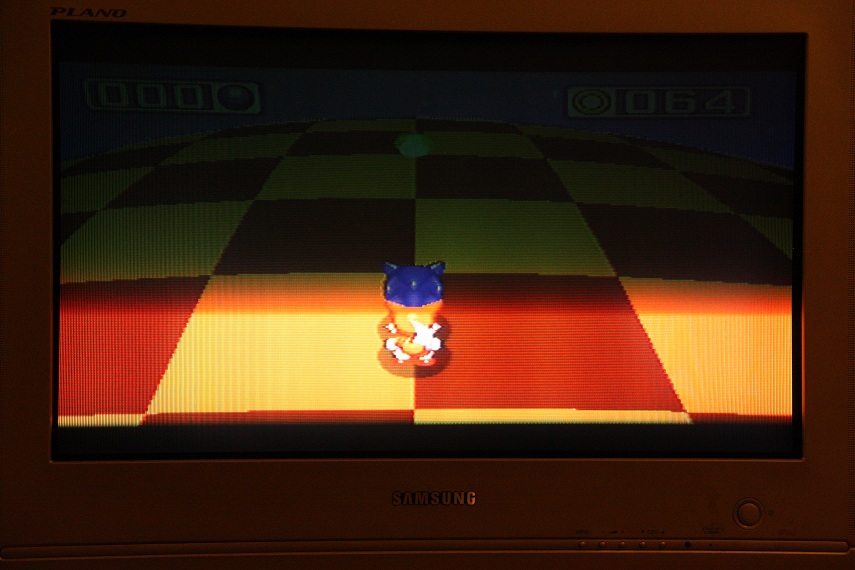
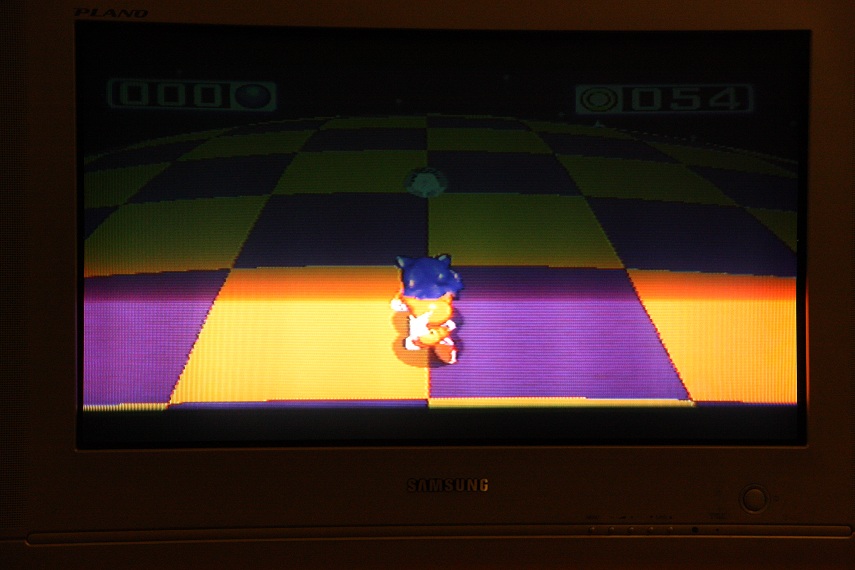
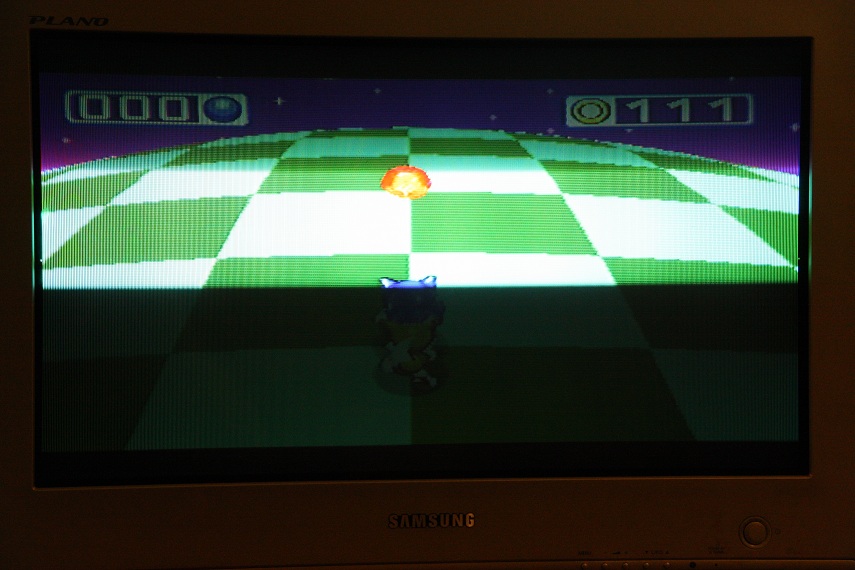
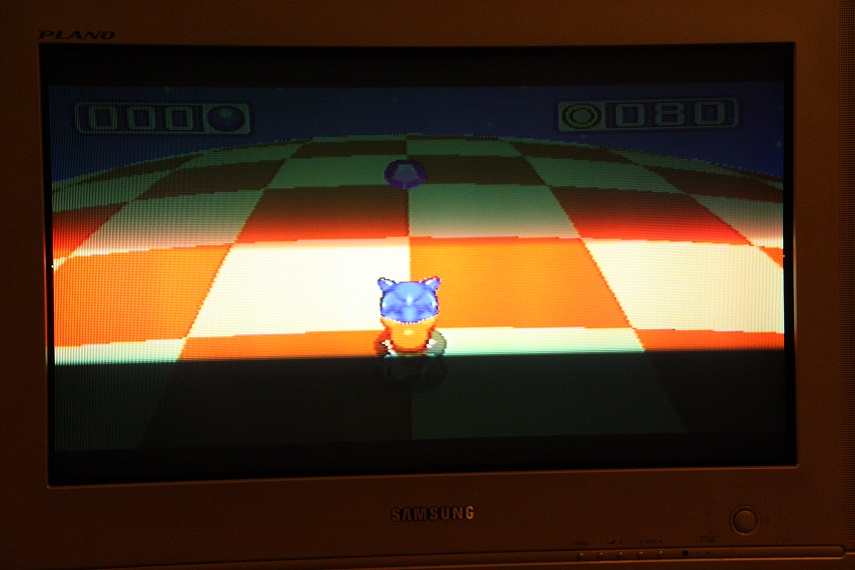
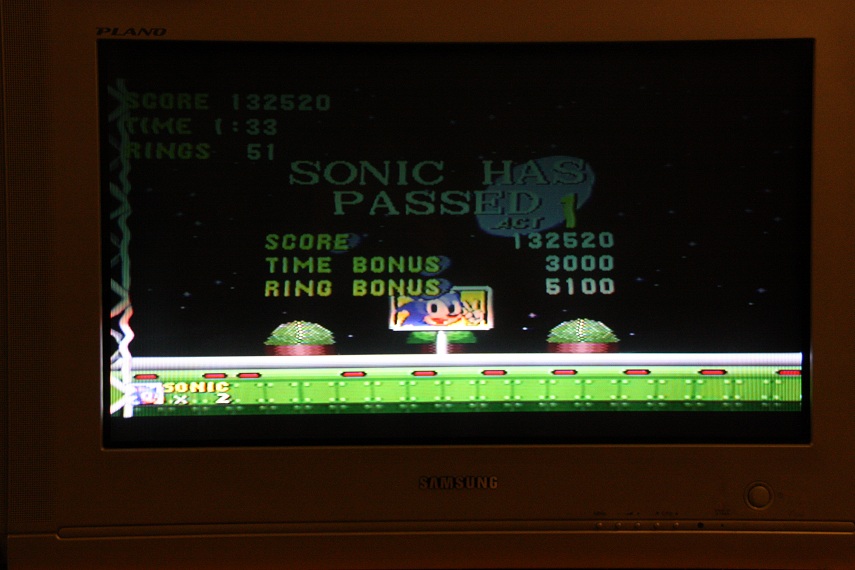
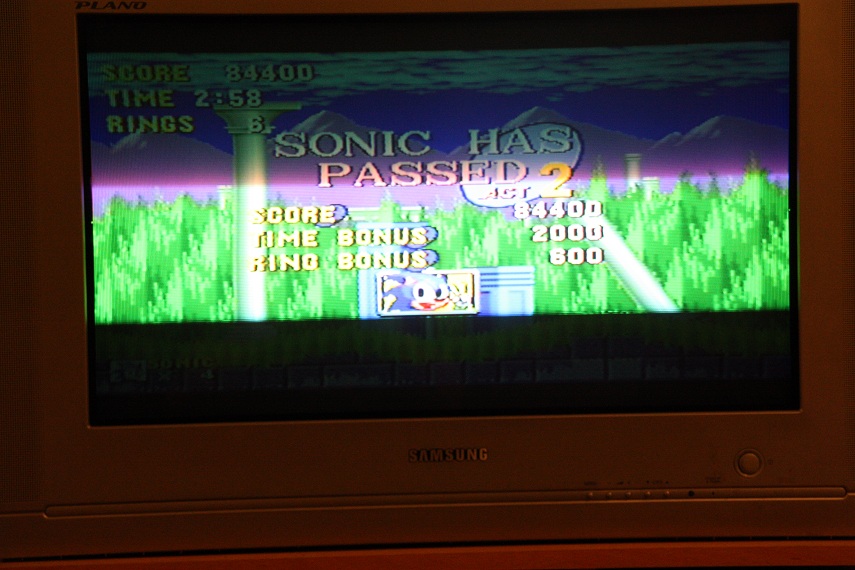
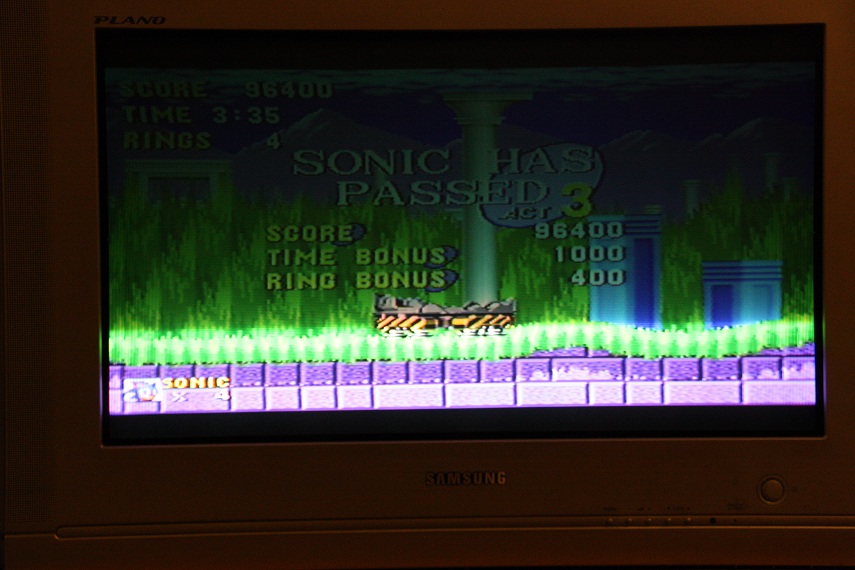
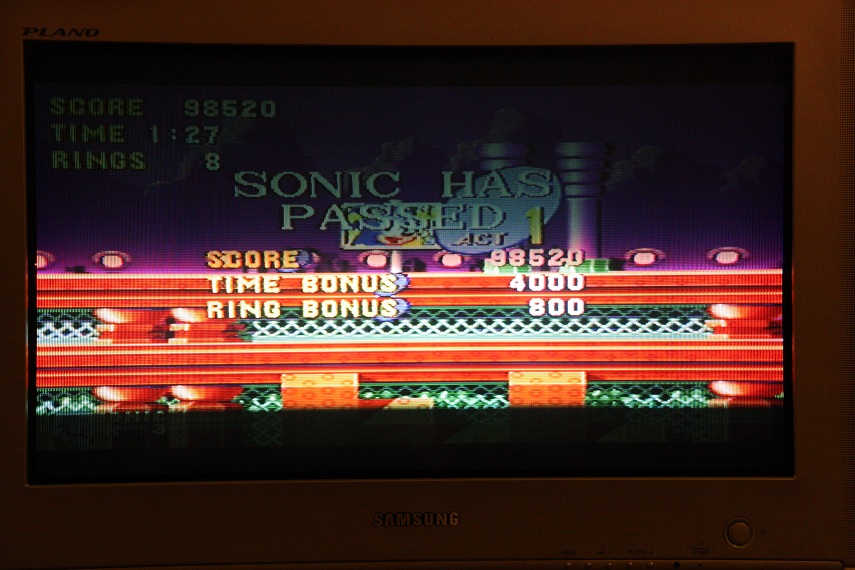
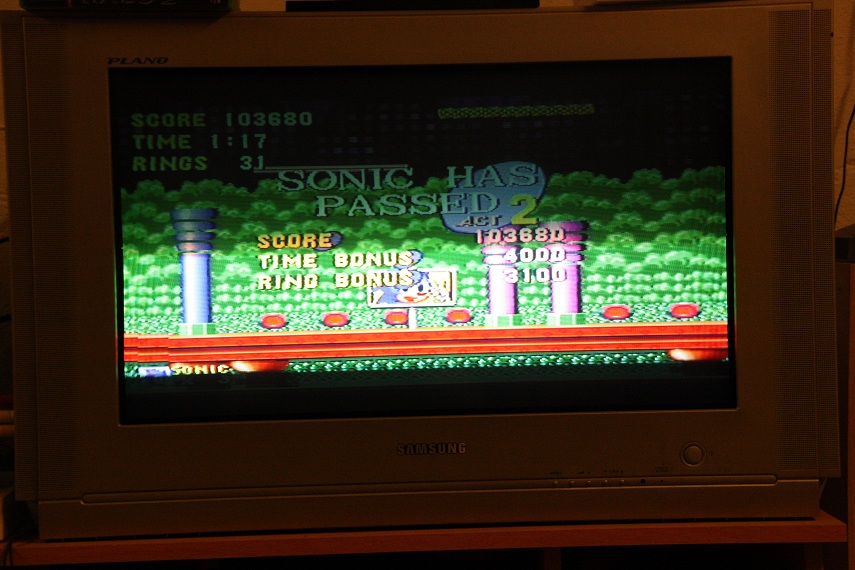
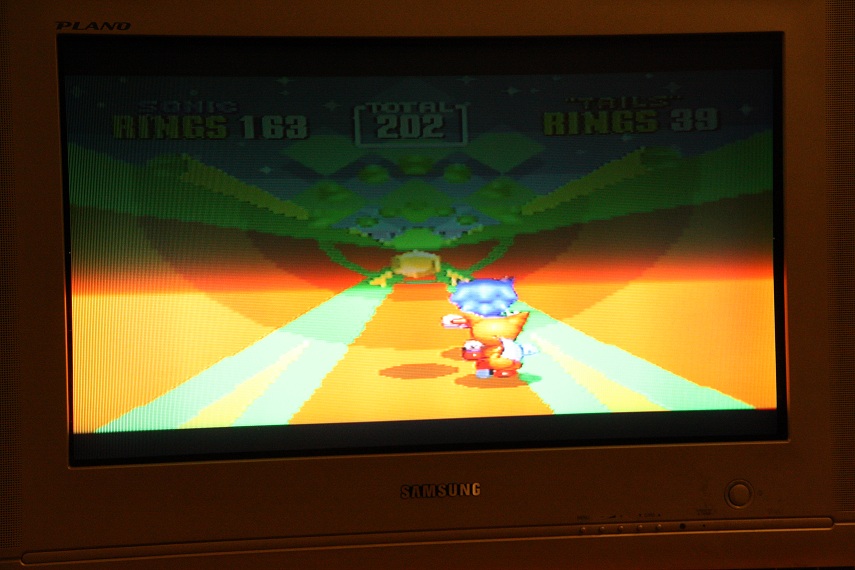
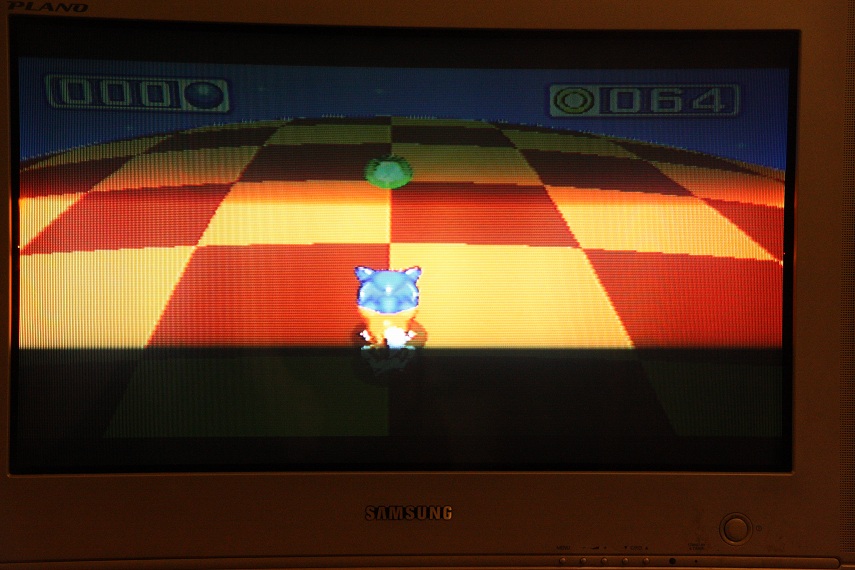
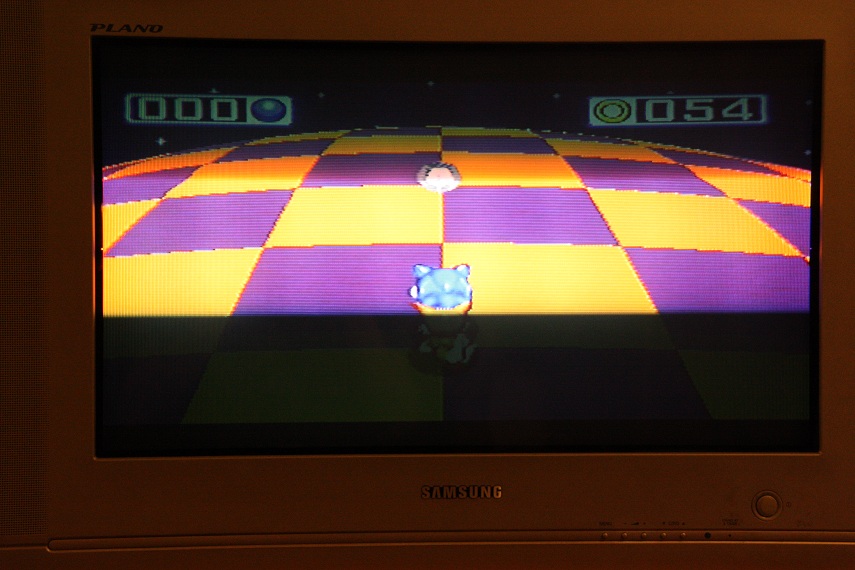
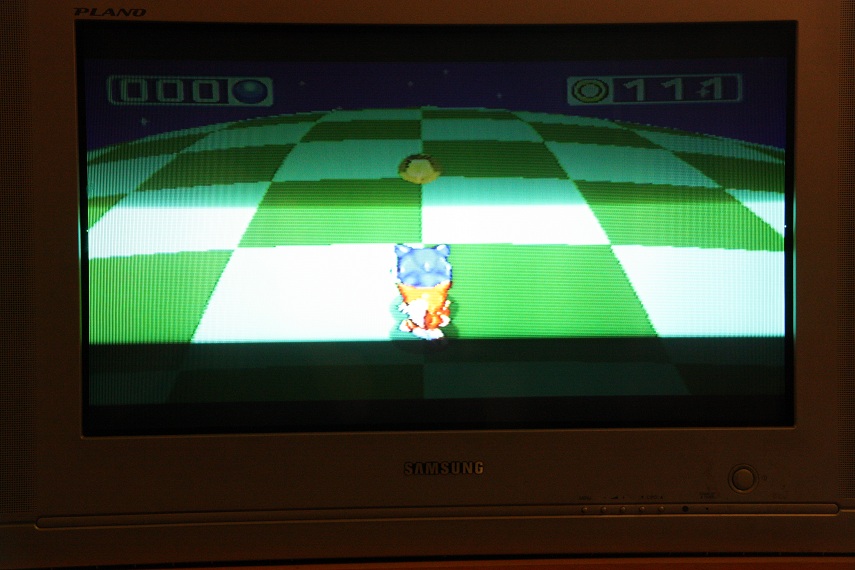
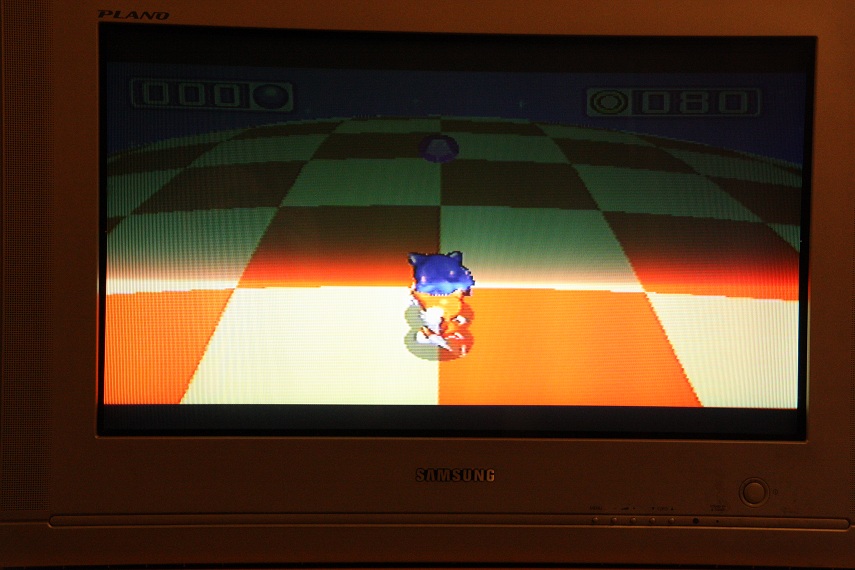
Sonic Jam
Klicken um das Spiel anzusehen
Score:
2 min 16
Rank: 1
Score:
1 min 59
Rank: 1

Score:
1 min 29
Rank: 1
Score:
2 min 10
Rank: 1

Score:
0 min 51
Rank: 1
Score:
2 min 06
Rank: 1
Score:
1 min 35
Rank: 1

Score:
2 min 08
Rank: 1

Score:
1 min 28
Rank: 1
Score:
1 min 54
Rank: 1

Score:
1 min 32
Rank: 1
Score:
1 min 29
Rank: 1

Score:
2 min 39
Rank: 1

Score:
2 min 31
Rank: 1

Score:
2 min 13
Rank: 1
Score:
2 min 28
Rank: 1

Score:
3 min 10
Rank: 1

Score:
3 min 14
Rank: 1

Score:
3 min 45
Rank: 1
Score:
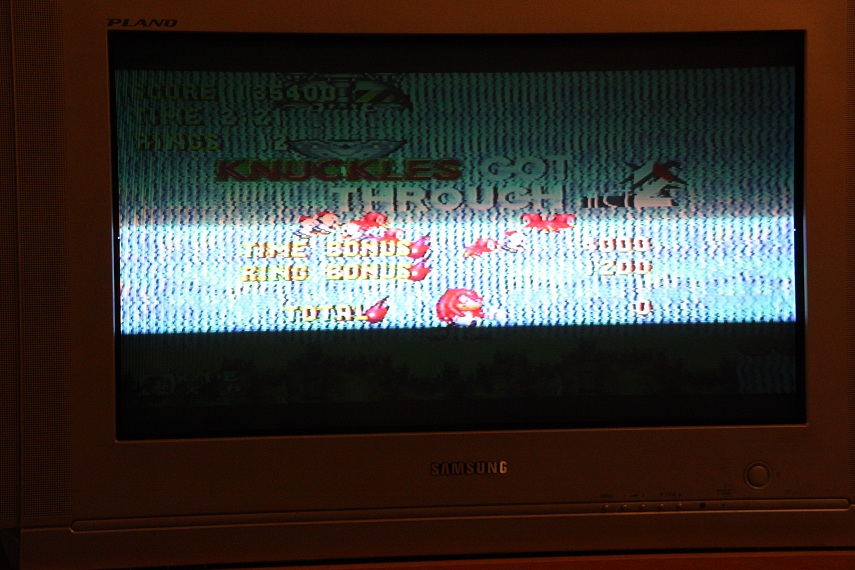
406280
Rank: 1

Score:
201
Rank: 1

Score:
101
Rank: 1

Score:
78
Rank: 1

Score:
54
Rank: 1
Score:
92
Rank: 1

Score:
7
Rank: 1

Score:
79
Rank: 1

Score:
66
Rank: 1

Score:
84
Rank: 1

Score:
91
Rank: 1

Score:
66
Rank: 1

Score:
40
Rank: 1

Score:
8
Rank: 1

Score:
22
Rank: 1

Score:
67
Rank: 1

Score:
29
Rank: 1

Score:
0
Rank: 1
Score:
22
Rank: 1
Score:
217
Rank: 1

Score:
205
Rank: 1
Score:
162
Rank: 1
Score:
161
Rank: 1
Score:
166
Rank: 1
Score:
179
Rank: 1
Score:
181
Rank: 1
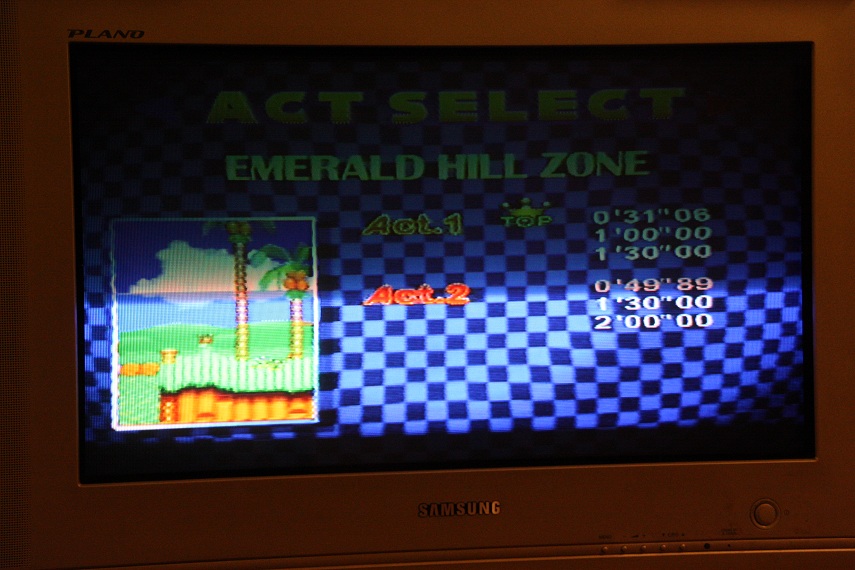
Score:
0:37.660
Rank: 1
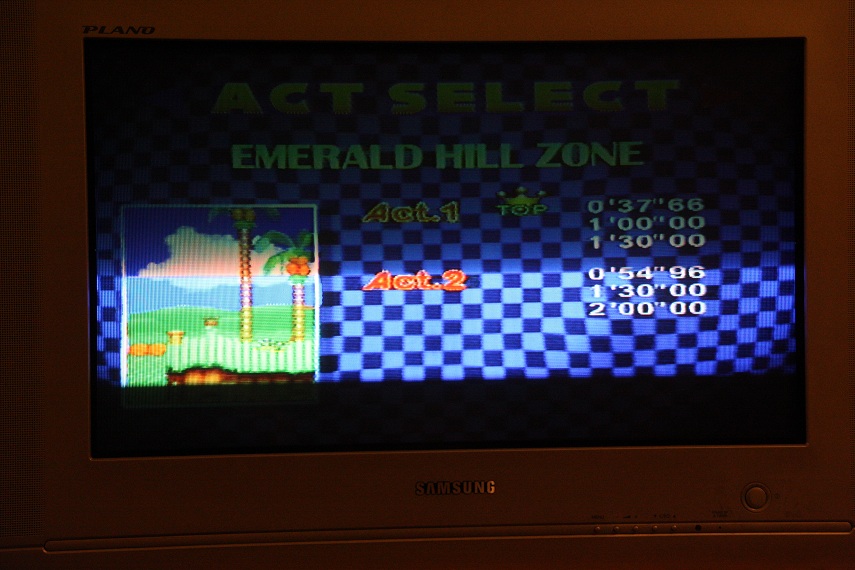
Score:
0:54.960
Rank: 1

Score:
0:56.980
Rank: 1
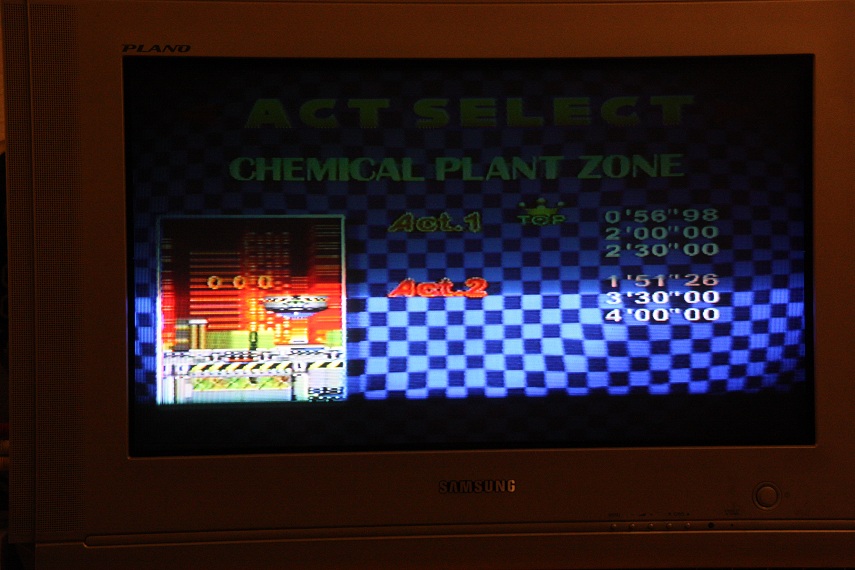
Score:
1:51.260
Rank: 1

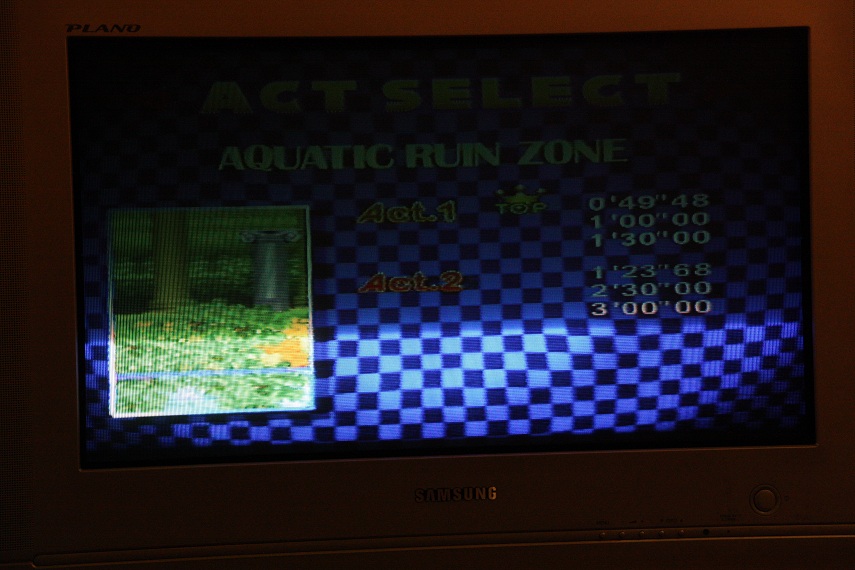
Score:
0:49.480
Rank: 1

Score:
1:23.680
Rank: 1
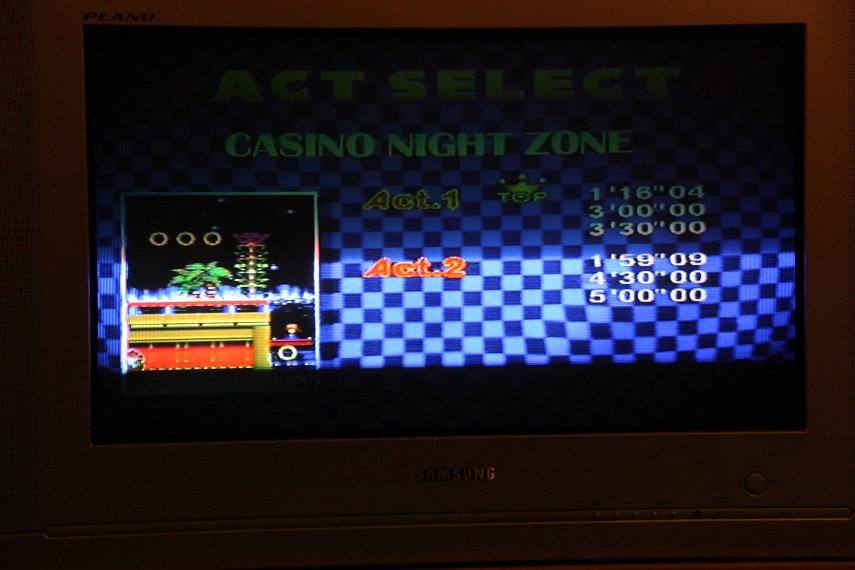
Score:
1:16.040
Rank: 1

Score:
1:59.090
Rank: 1
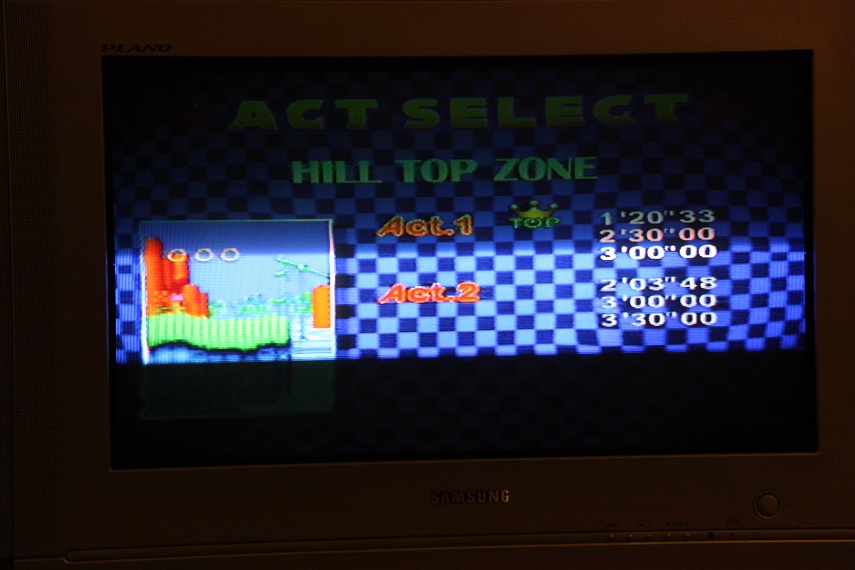
Score:
1:20.330
Rank: 1

Score:
2:03.480
Rank: 1
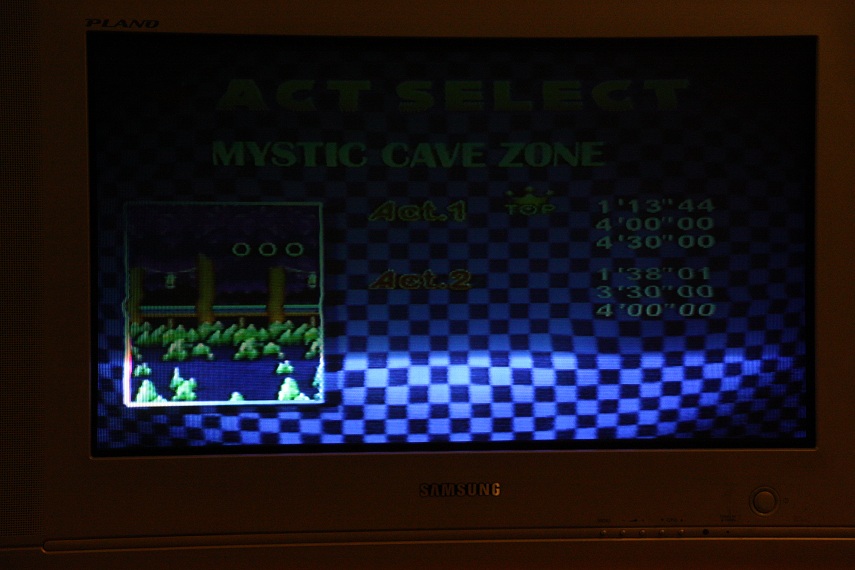
Score:
1:13.440
Rank: 1

Score:
1:38.010
Rank: 1
Score:
2:08.240
Rank: 1
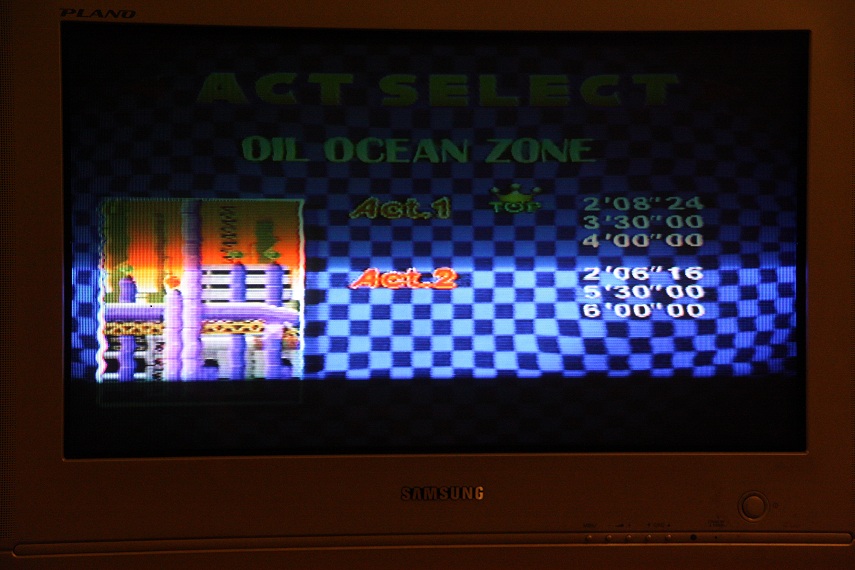
Score:
2:06.160
Rank: 1

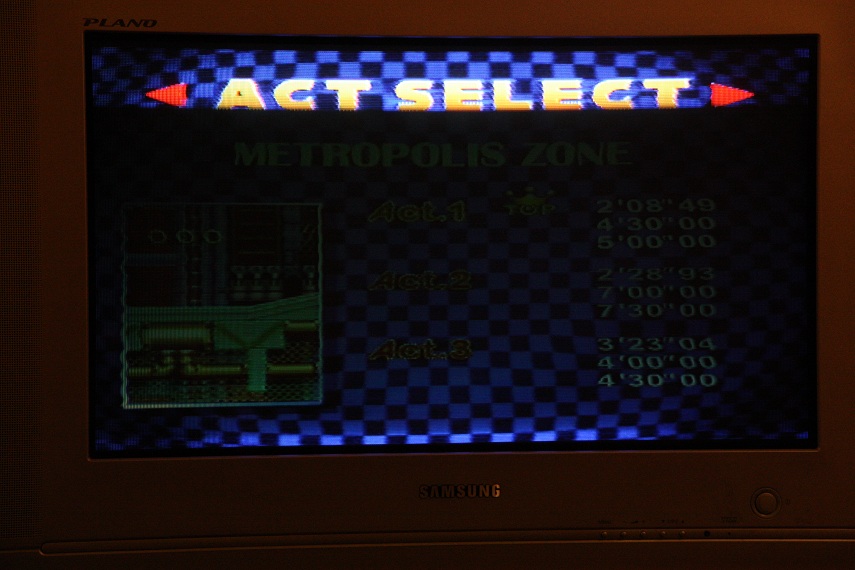
Score:
2:08.490
Rank: 1

Score:
2:28.930
Rank: 1

Score:
3:23.040
Rank: 1
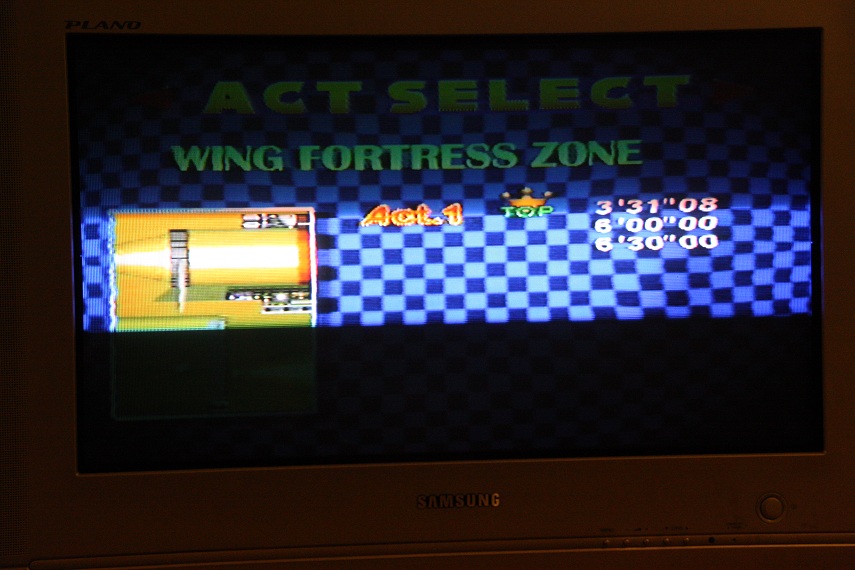
Score:
3:31.080
Rank: 1
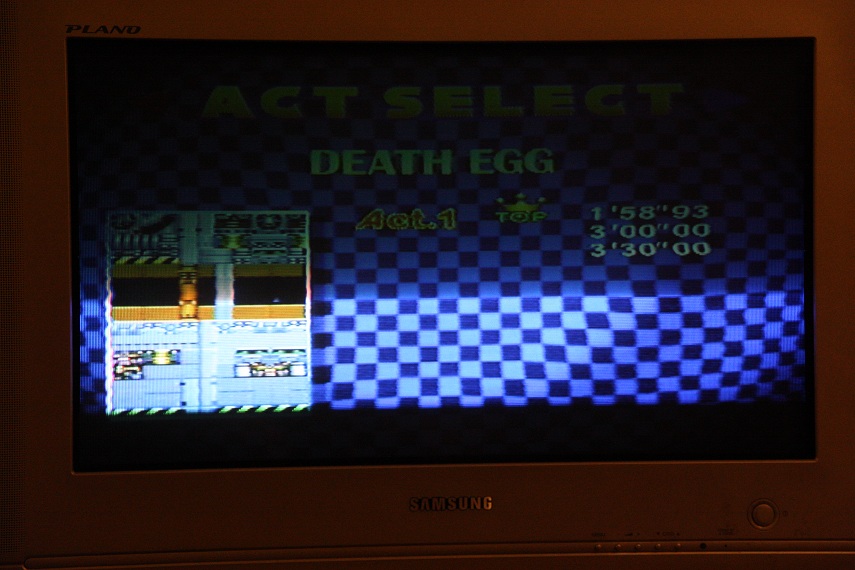
Score:
1:58.930
Rank: 1
Score:
4 min 38
Rank: 1

Score:
6 min 35
Rank: 1

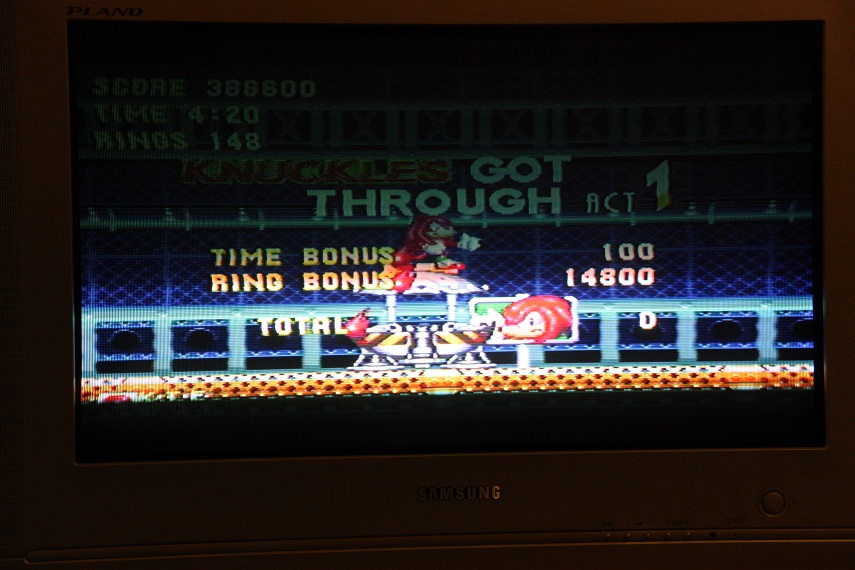
Score:
4 min 20
Rank: 1
Score:
4 min 02
Rank: 1

Score:
3 min 22
Rank: 1

Score:
4 min 58
Rank: 1

Score:
3 min 50
Rank: 1

Score:
3 min 09
Rank: 1
Score:
0 min 11
Rank: 1
Score:
1 min 54
Rank: 1

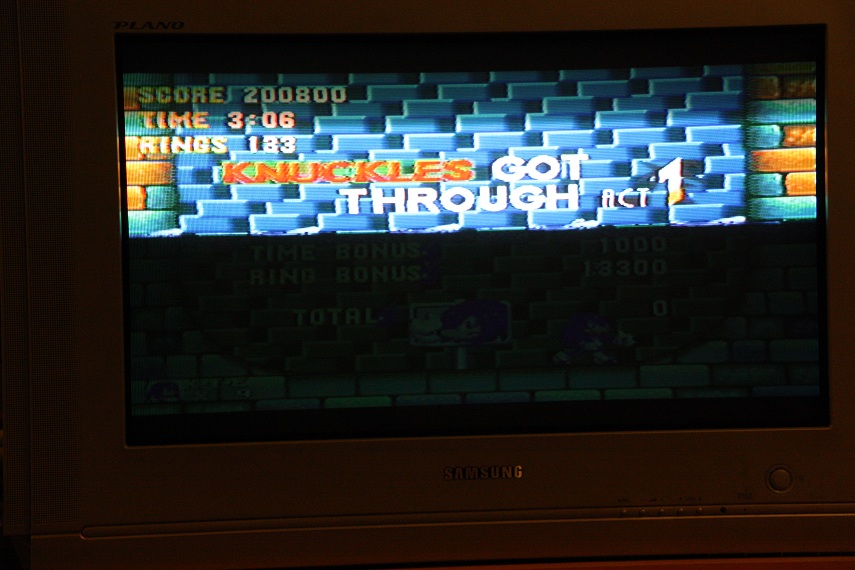
Score:
472380
Rank: 1

Score:
57
Rank: 1
Score:
10
Rank: 1
Score:
148
Rank: 1

Score:
300
Rank: 1

Score:
317
Rank: 1
Score:
170
Rank: 1
Score:
1
Rank: 1
Score:
51
Rank: 1

Score:
0
Rank: 1

Score:
3
Rank: 1
Score:
2 min 06
Rank: 1
Score:
3 min 27
Rank: 1
Score:
3 min 33
Rank: 1
Score:
4 min 10
Rank: 1

Score:
4 min 31
Rank: 1
Score:
5 min 17
Rank: 1

Score:
3 min 24
Rank: 1
Score:
5 min 06
Rank: 1
Score:
0 min 33
Rank: 1
Score:
2 min 47
Rank: 1
Score:
3 min 27
Rank: 1

Score:
7 min 17
Rank: 1
Score:
3 min 29
Rank: 1
Score:
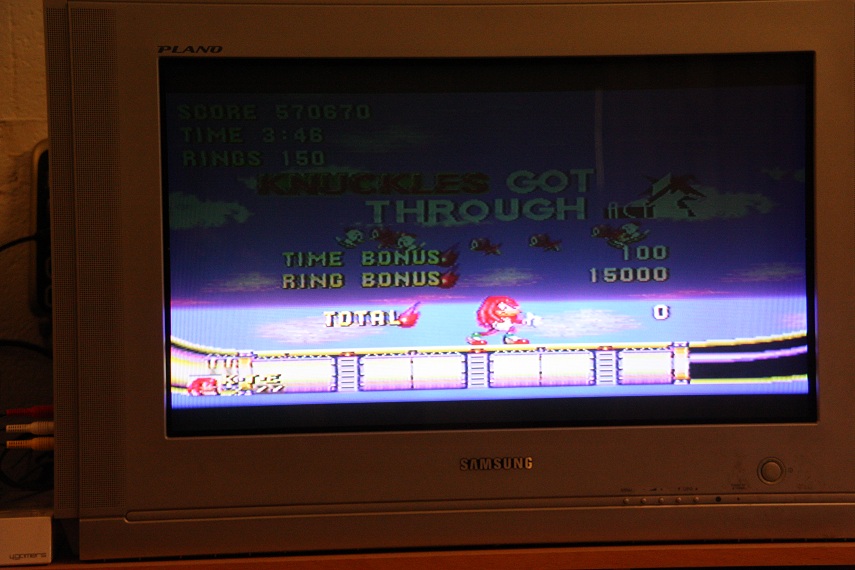
603050
Rank: 1

Score:
11
Rank: 1

Score:
78
Rank: 1

Score:
101
Rank: 1

Score:
190
Rank: 1
Score:
264
Rank: 1

Score:
357
Rank: 1
Score:
152
Rank: 1
Score:
19
Rank: 1

Score:
52
Rank: 1

Score:
235
Rank: 1

Score:
205
Rank: 1

Score:
258
Rank: 1

Score:
16
Rank: 1

Score:
64
Rank: 1
Score:
61
Rank: 1
Score:
68
Rank: 1
Score:
57
Rank: 1
Score:
54
Rank: 1
Score:
64
Rank: 1
Score:
144
Rank: 1
Score:
1:30.530
Rank: 1
Score:
2:06.340
Rank: 1

Score:
3:20.910
Rank: 1

Score:
4:13.640
Rank: 1

Score:
4:06.760
Rank: 1

Score:
5:14.240
Rank: 1
Score:
4:34.560
Rank: 1
Score:
3:07.240
Rank: 1

Score:
0:40.830
Rank: 1

Score:
3:15.580
Rank: 1

Score:
3:50.510
Rank: 1

Score:
5:43.530
Rank: 1
Score:
2:12.980
Rank: 1

Score:
1 min 52
Rank: 1

Score:
2 min 21
Rank: 1
Score:
3 min 06
Rank: 1
Score:
4 min 48
Rank: 1

Score:
4 min 29
Rank: 1

Score:
4 min 40
Rank: 1

Score:
2 min 03
Rank: 1

Score:
1 min 37
Rank: 1

Score:
2 min 44
Rank: 1

Score:
2 min 25
Rank: 1

Score:
4 min 08
Rank: 1

Score:
3 min 46
Rank: 1
Score:
4 min 00
Rank: 1

Score:
4 min 33
Rank: 1

Score:
4 min 28
Rank: 1
Score:
4 min 16
Rank: 1

Score:
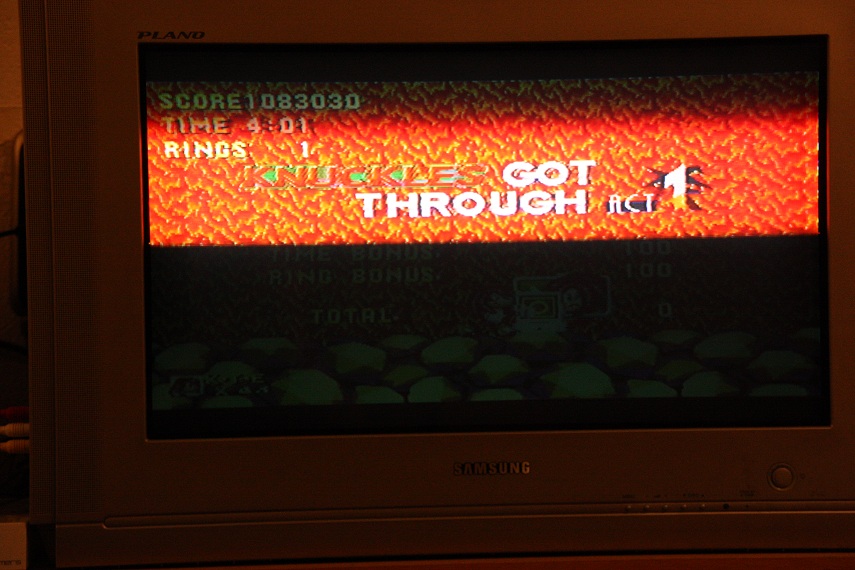
4 min 01
Rank: 1

Score:
4 min 56
Rank: 1

Score:
4 min 01
Rank: 1

Score:
2 min 36
Rank: 1
Score:
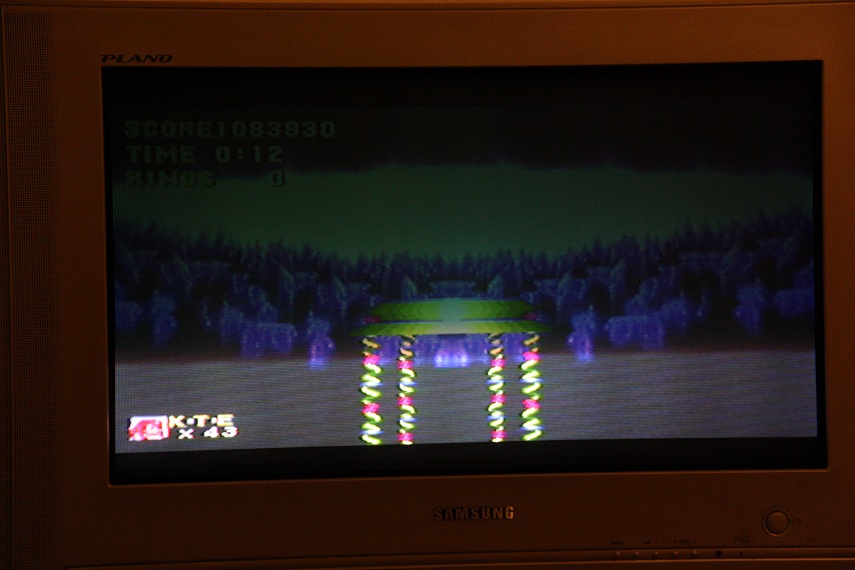
0 min 12
Rank: 1

Score:
1 min 49
Rank: 1

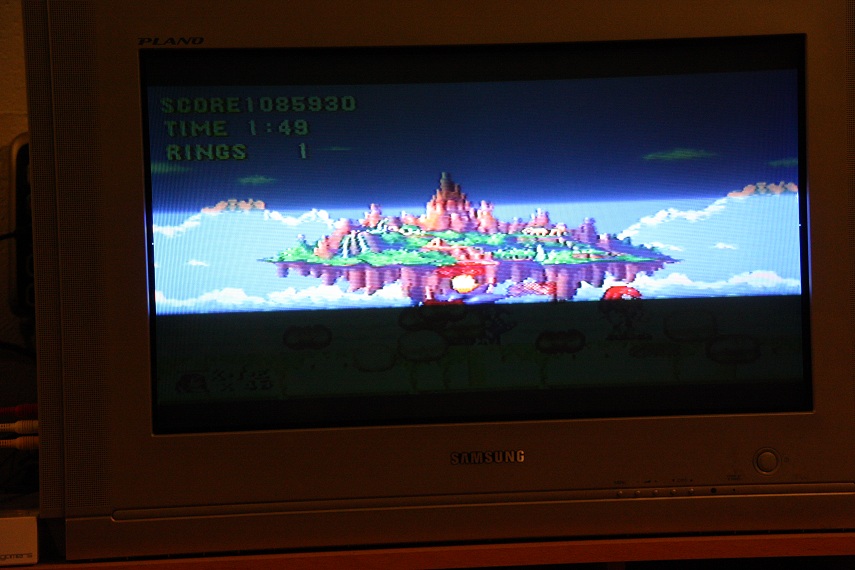
Score:
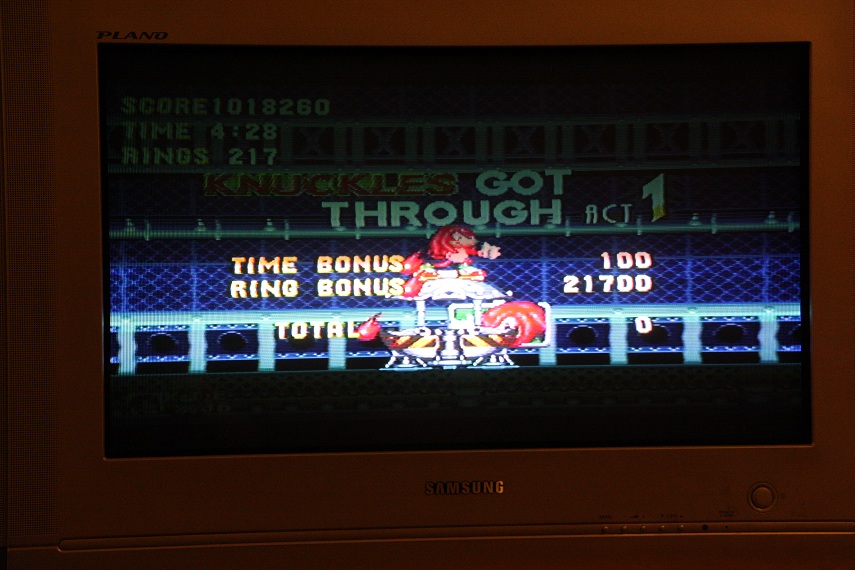
1085930
Rank: 1

Score:
95
Rank: 1

Score:
12
Rank: 1

Score:
133
Rank: 1

Score:
225
Rank: 1

Score:
11
Rank: 1

Score:
53
Rank: 1
Score:
1
Rank: 1

Score:
151
Rank: 1

Score:
128
Rank: 1

Score:
225
Rank: 1

Score:
39
Rank: 1
Score:
150
Rank: 1

Score:
164
Rank: 1

Score:
3
Rank: 1
Score:
217
Rank: 1

Score:
253
Rank: 1

Score:
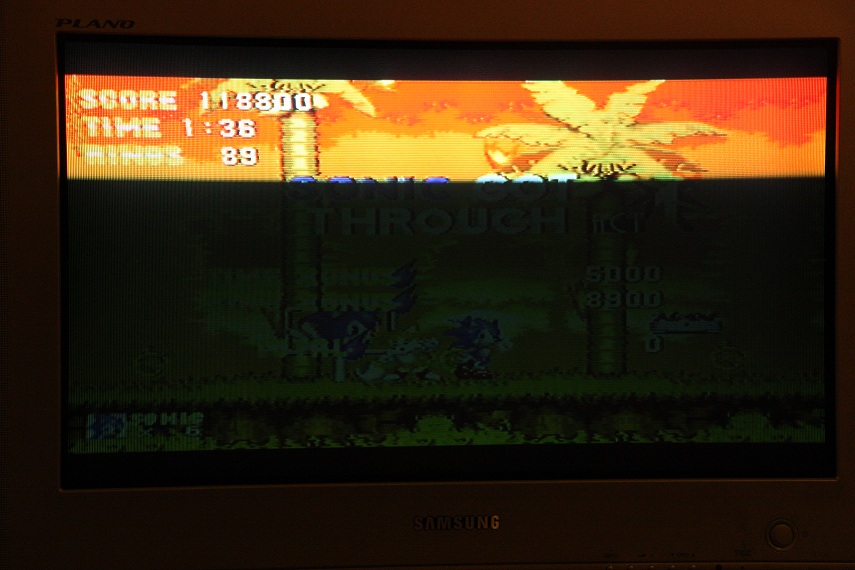
89
Rank: 1

Score:
1
Rank: 1

Score:
1
Rank: 1
Score:
26
Rank: 1

Score:
0
Rank: 1
Score:
1
Rank: 1
Score:
1 min 36
Rank: 1
Score:
2 min 40
Rank: 1

Score:
1 min 33
Rank: 1

Score:
3 min 56
Rank: 1

Score:
2 min 16
Rank: 1
Score:
3 min 57
Rank: 1
Score:
2 min 27
Rank: 1
Score:
5 min 21
Rank: 1

Score:
2 min 24
Rank: 1

Score:
1 min 29
Rank: 1
Score:
3 min 27
Rank: 1

Score:
3 min 08
Rank: 1

Score:
2 min 58
Rank: 1
Score:
3 min 36
Rank: 1
Score:
4 min 35
Rank: 1
Score:
4 min 07
Rank: 1
Score:
4 min 01
Rank: 1

Score:
4 min 21
Rank: 1

Score:
3 min 17
Rank: 1

Score:
4 min 55
Rank: 1
Score:
0 min 34
Rank: 1

Score:
2 min 53
Rank: 1

Score:
2 min 46
Rank: 1

Score:
5 min 53
Rank: 1

Score:
2 min 40
Rank: 1

Score:
1200650
Rank: 1

Score:
89
Rank: 1

Score:
99
Rank: 1

Score:
83
Rank: 1

Score:
186
Rank: 1

Score:
208
Rank: 1

Score:
73
Rank: 1

Score:
152
Rank: 1

Score:
131
Rank: 1

Score:
296
Rank: 1

Score:
124
Rank: 1

Score:
88
Rank: 1

Score:
153
Rank: 1

Score:
12
Rank: 1

Score:
79
Rank: 1

Score:
92
Rank: 1

Score:
146
Rank: 1

Score:
102
Rank: 1
Score:
376
Rank: 1
Score:
165
Rank: 1
Score:
118
Rank: 1

Score:
53
Rank: 1

Score:
21
Rank: 1
Score:
122
Rank: 1
Score:
109
Rank: 1
Score:
26
Rank: 1

Score:
80
Rank: 1
Score:
64
Rank: 1
Score:
54
Rank: 1
Score:
111
Rank: 1
Score:
80
Rank: 1
Score:
64
Rank: 1
Score:
64
Rank: 1
Score:
61
Rank: 1
Score:
68
Rank: 1
Score:
54
Rank: 1
Score:
64
Rank: 1
Score:
144
Rank: 1
Score:
1 min 45
Rank: 1

Score:
2 min 42
Rank: 1
Score:
1 min 37
Rank: 1
Score:
3 min 57
Rank: 1

Score:
3 min 14
Rank: 1

Score:
5 min 05
Rank: 1

Score:
2 min 41
Rank: 1

Score:
4 min 52
Rank: 1

Score:
2 min 56
Rank: 1

Score:
3 min 22
Rank: 1

Score:
4 min 21
Rank: 1

Score:
3 min 27
Rank: 1

Score:
2 min 35
Rank: 1
Score:
3 min 43
Rank: 1

Score:
4 min 30
Rank: 1

Score:
4 min 20
Rank: 1

Score:
4 min 13
Rank: 1
Score:
4 min 11
Rank: 1

Score:
4 min 02
Rank: 1
Score:
5 min 01
Rank: 1
Score:
0 min 33
Rank: 1
Score:
3 min 03
Rank: 1
Score:
3 min 32
Rank: 1
Score:
1 min 32
Rank: 1

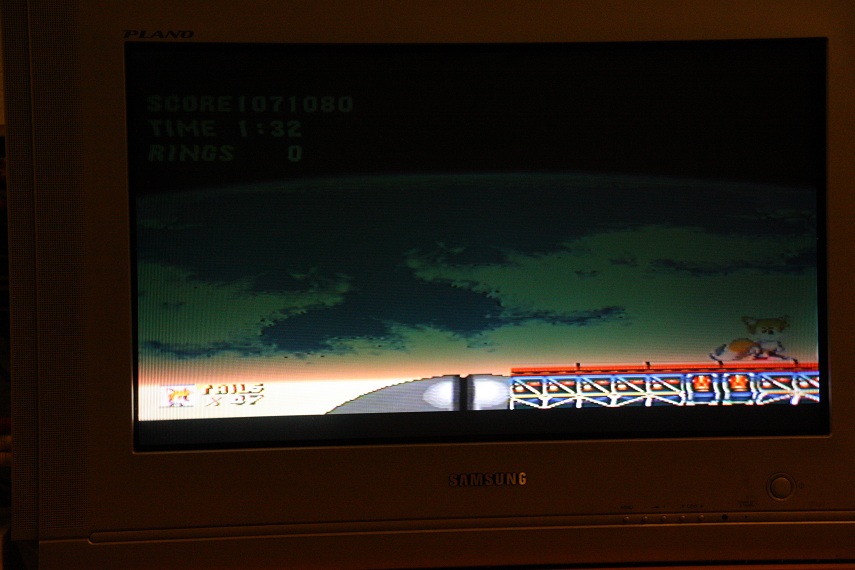
Score:
1071080
Rank: 1

Score:
111
Rank: 1

Score:
92
Rank: 1

Score:
79
Rank: 1

Score:
199
Rank: 1

Score:
47
Rank: 1

Score:
65
Rank: 1
Score:
5
Rank: 1

Score:
6
Rank: 1

Score:
169
Rank: 1
Score:
7
Rank: 1
Score:
5
Rank: 1
Score:
121
Rank: 1

Score:
116
Rank: 1

Score:
3
Rank: 1
Score:
69
Rank: 1

Score:
298
Rank: 1

Score:
37
Rank: 1

Score:
98
Rank: 1

Score:
169
Rank: 1

Score:
110
Rank: 1

Score:
55
Rank: 1

Score:
8
Rank: 1

Score:
54
Rank: 1

Score:
0
Rank: 1
Score:
0 min 30
Rank: 1

Score:
0 min 37
Rank: 1

Score:
1 min 16
Rank: 1

Score:
1 min 26
Rank: 1
Score:
2 min 58
Rank: 1

Score:
3 min 35
Rank: 1

Score:
1 min 27
Rank: 1

Score:
1 min 17
Rank: 1

Score:
3 min 10
Rank: 1

Score:
2 min 41
Rank: 1

Score:
2 min 06
Rank: 1
Score:
3 min 45
Rank: 1

Score:
1 min 33
Rank: 1
Score:
1 min 05
Rank: 1

Score:
2 min 06
Rank: 1

Score:
1 min 19
Rank: 1

Score:
2 min 29
Rank: 1

Score:
0 min 53
Rank: 1

Score:
1 min 14
Rank: 1
Score:
175850
Rank: 1

Score:
51
Rank: 1

Score:
6
Rank: 1
Score:
67
Rank: 1
Score:
45
Rank: 1

Score:
6
Rank: 1
Score:
4
Rank: 1
Score:
8
Rank: 1
Score:
31
Rank: 1
Score:
29
Rank: 1

Score:
14
Rank: 1
Score:
18
Rank: 1

Score:
0
Rank: 1
Score:
51
Rank: 1

Score:
125
Rank: 1
Score:
1
Rank: 1
Score:
33
Rank: 1
Score:
6
Rank: 1
Score:
14
Rank: 1
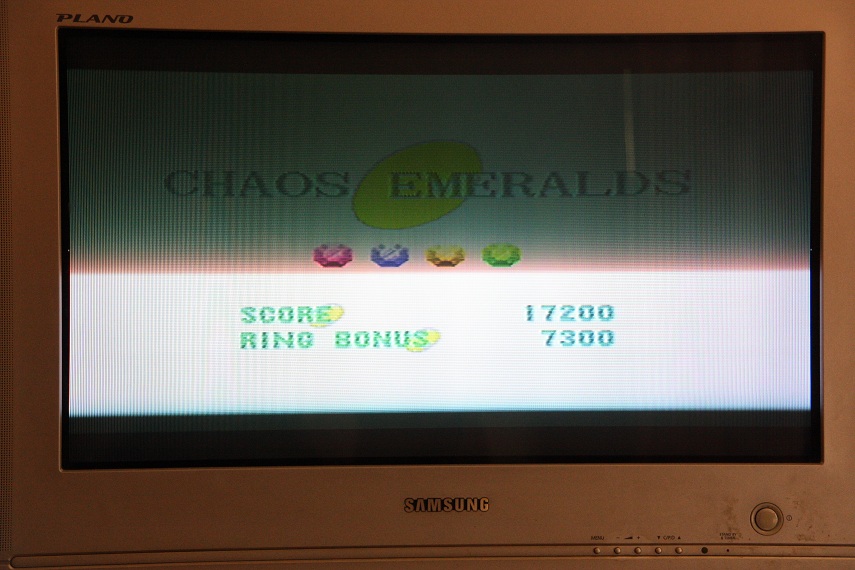
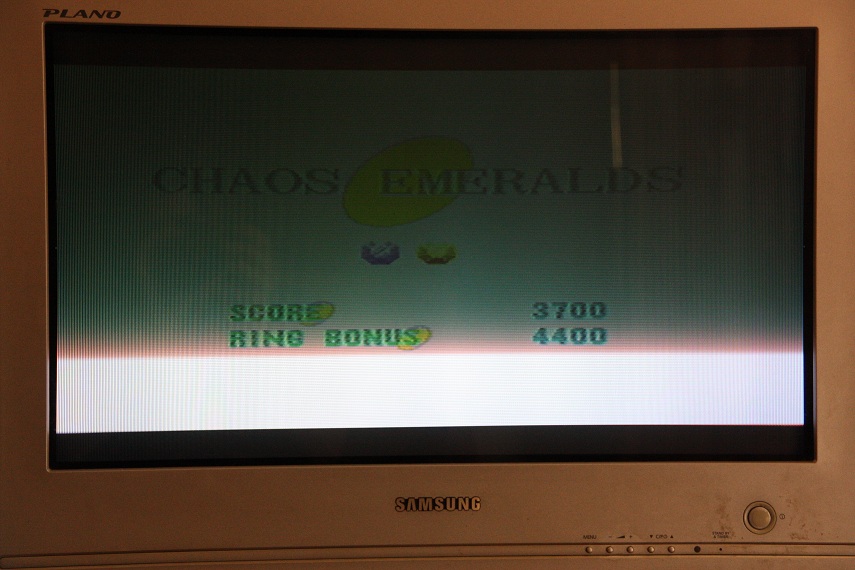
Score:
3700
Rank: 1
Score:
7300
Rank: 1
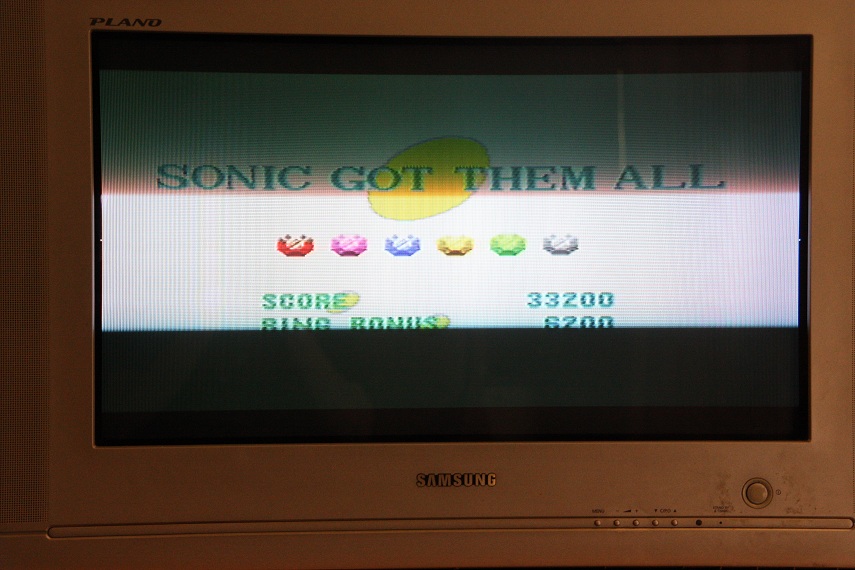
Score:
6200
Rank: 1
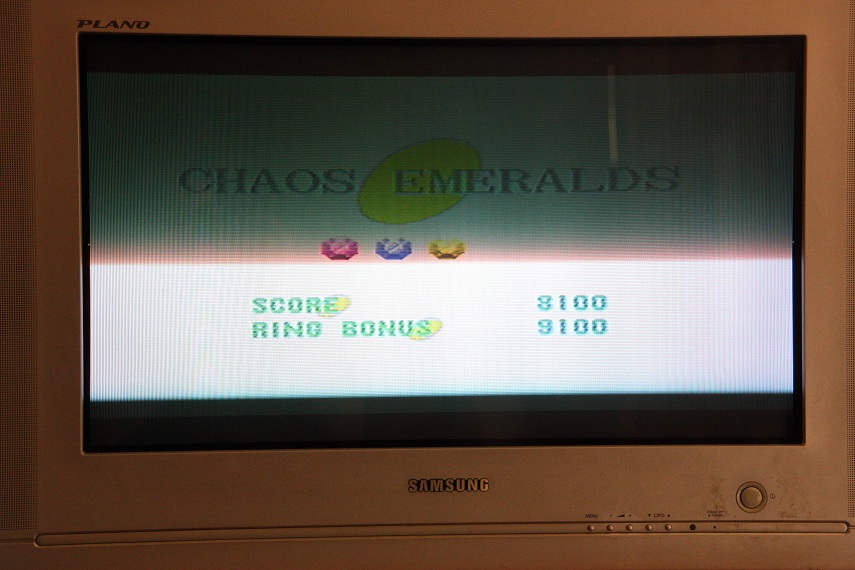
Score:
9100
Rank: 1
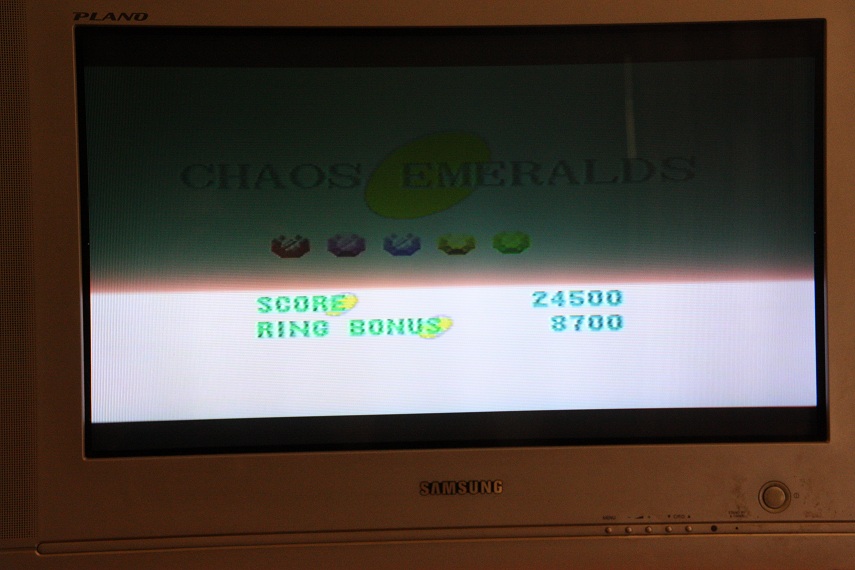
Score:
8700
Rank: 1
Score:
4400
Rank: 1
Score:
0:27.390
Rank: 1

Score:
0:32.330
Rank: 1
Score:
0:46.000
Rank: 1

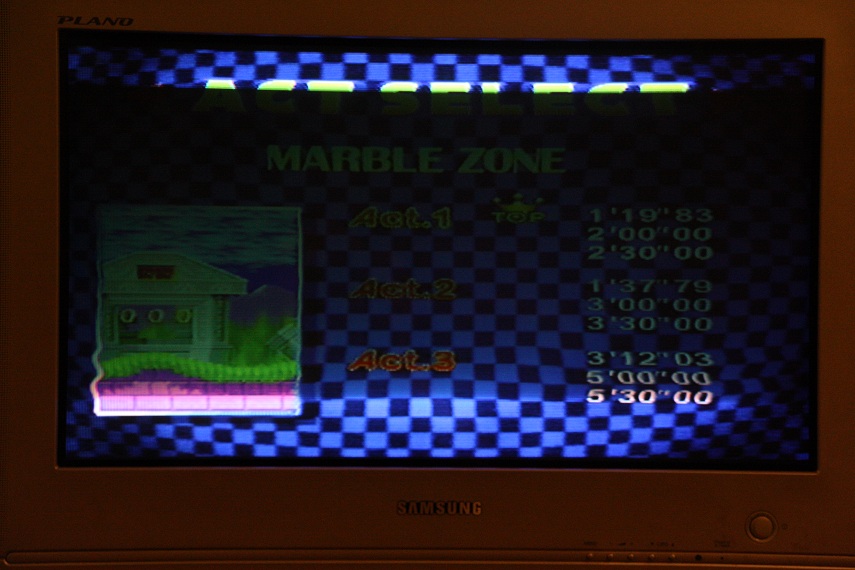
Score:
1:19.830
Rank: 1

Score:
1:37.790
Rank: 1

Score:
3:12.030
Rank: 1
Score:
1:20.380
Rank: 1
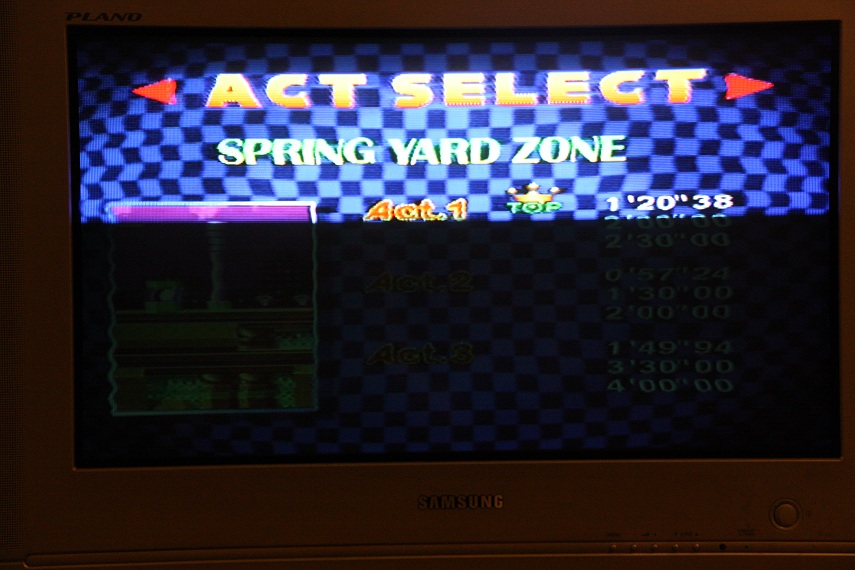
Score:
0:57.240
Rank: 1

Score:
1:49.940
Rank: 1

Score:
2:09.440
Rank: 1
Score:
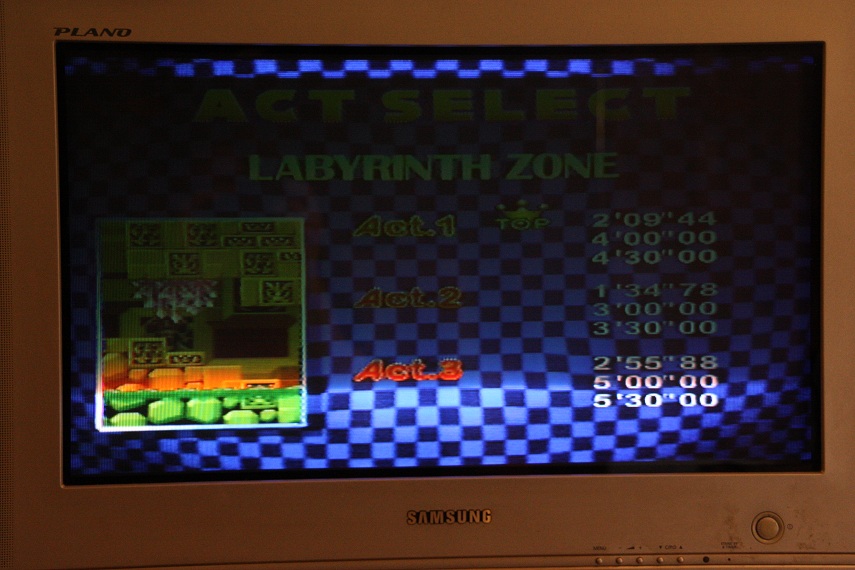
1:34.780
Rank: 1

Score:
2:55.880
Rank: 1

Score:
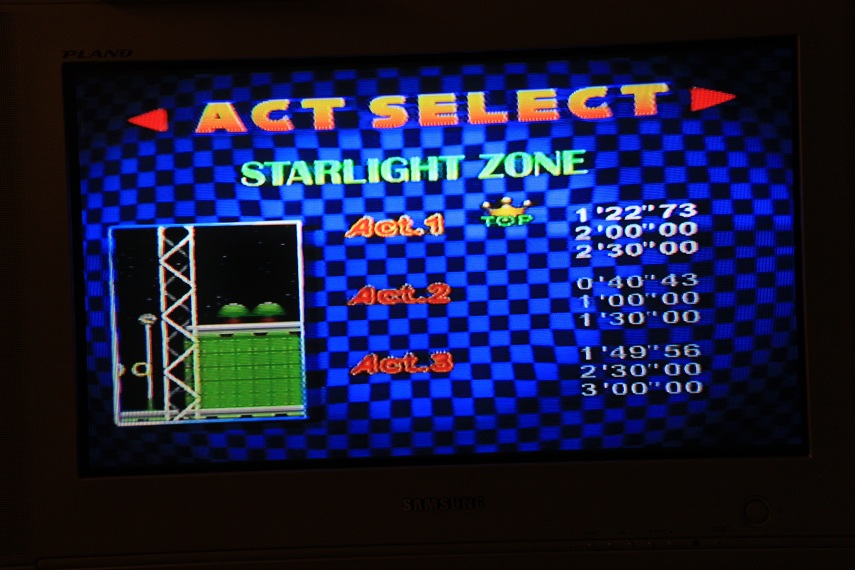
1:22.730
Rank: 1

Score:
0:40.430
Rank: 1
Score:
1:49.560
Rank: 1

Score:
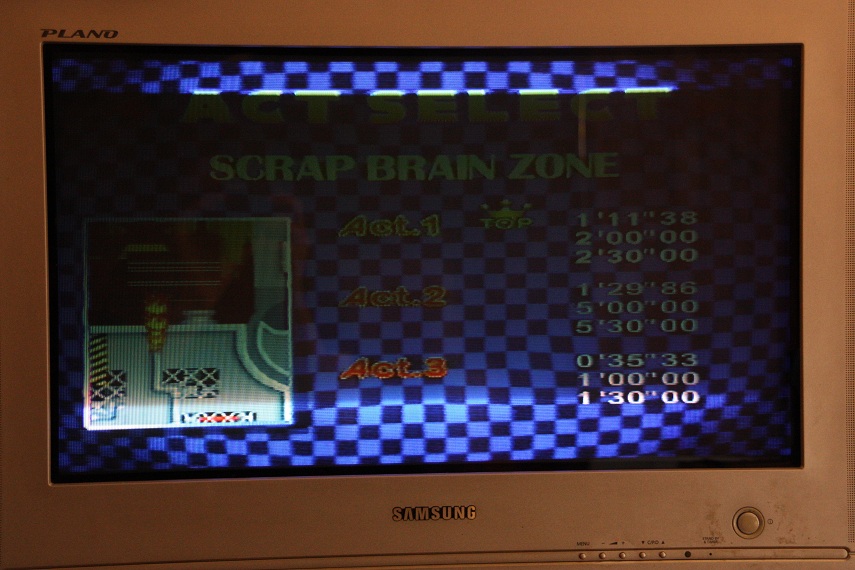
1:11.380
Rank: 1
Score:
1:29.860
Rank: 1

Score:
0:35.330
Rank: 1

Score:
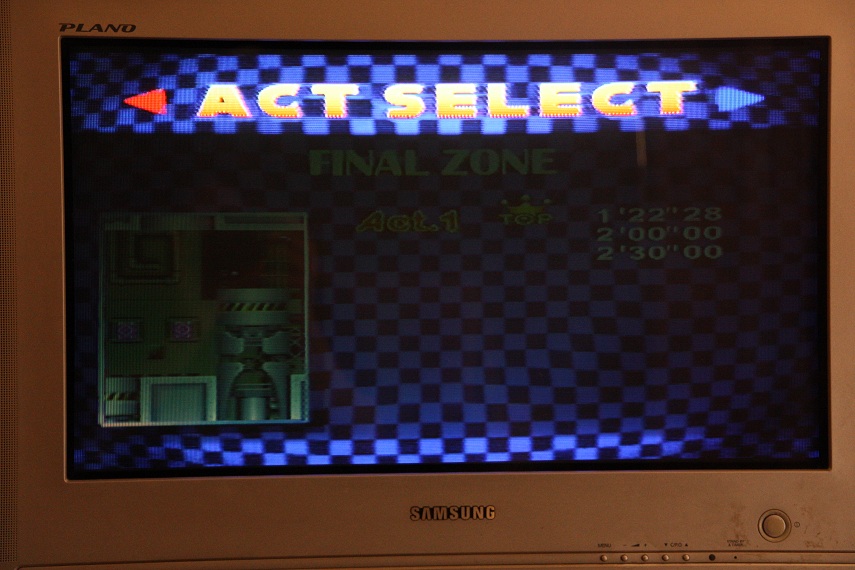
1:22.280
Rank: 1
Score:
3 min 22
Rank: 1
Score:
3 min 36
Rank: 1

Score:
1 min 49
Rank: 1
Score:
2 min 58
Rank: 1

Score:
3 min 47
Rank: 1
Score:
3 min 52
Rank: 1
Score:
1 min 57
Rank: 1
Score:
1 min 51
Rank: 1

Score:
1 min 43
Rank: 1

Score:
1 min 40
Rank: 1

Score:
1 min 12
Rank: 1

Score:
1 min 31
Rank: 1

Score:
1 min 48
Rank: 1
Score:
2 min 58
Rank: 1

Score:
2 min 03
Rank: 1

Score:
2 min 41
Rank: 1

Score:
4 min 06
Rank: 1
Score:
2 min 48
Rank: 1

Score:
2 min 38
Rank: 1
Score:
436130
Rank: 1

Score:
5
Rank: 1

Score:
2
Rank: 1
Score:
78
Rank: 1

Score:
39
Rank: 1
Score:
110
Rank: 1

Score:
8
Rank: 1

Score:
92
Rank: 1

Score:
30
Rank: 1
Score:
79
Rank: 1
Score:
65
Rank: 1
Score:
82
Rank: 1
Score:
74
Rank: 1

Score:
35
Rank: 1

Score:
42
Rank: 1
Score:
71
Rank: 1
Score:
38
Rank: 1
Score:
1
Rank: 1

Score:
13
Rank: 1
Score:
220
Rank: 1
Score:
238
Rank: 1
Score:
170
Rank: 1
Score:
172
Rank: 1
Score:
186
Rank: 1
Score:
166
Rank: 1
Score:
202
Rank: 1
Score:
0:31.060
Rank: 1

Score:
0:49.890
Rank: 1
Score:
0:44.310
Rank: 1
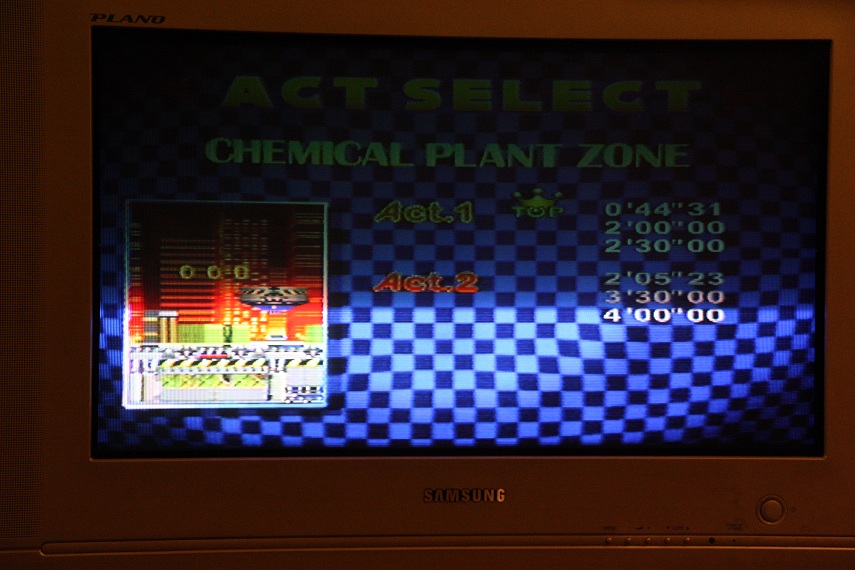
Score:
2:05.230
Rank: 1

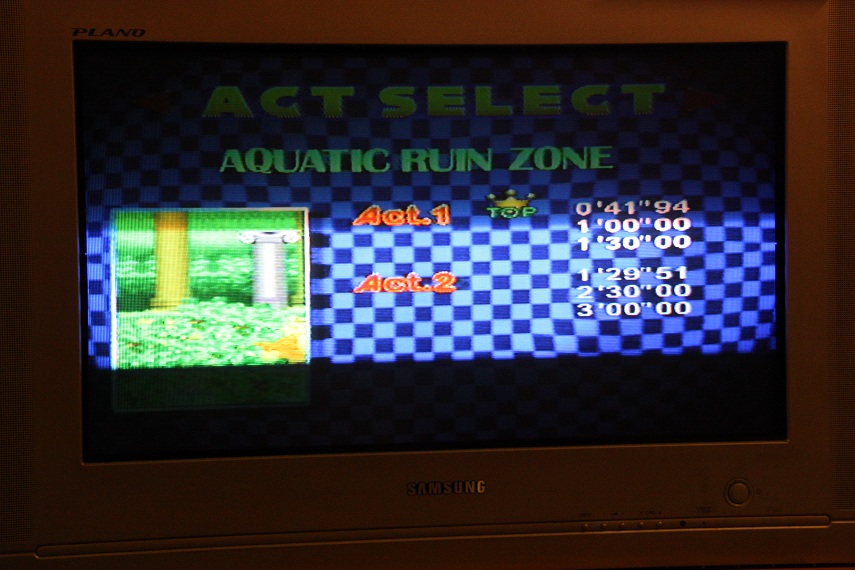
Score:
0:41.940
Rank: 1

Score:
1:29.510
Rank: 1
Score:
1:26.430
Rank: 1

Score:
1:58.540
Rank: 1
Score:
1:15.560
Rank: 1
Score:
1:43.030
Rank: 1

Score:
1:03.760
Rank: 1
Score:
1:34.660
Rank: 1

Score:
2:14.630
Rank: 1
Score:
2:15.260
Rank: 1

Score:
2:12.610
Rank: 1

Score:
2:45.240
Rank: 1
Score:
2:58.710
Rank: 1

Score:
3:45.410
Rank: 1

Score:
1:20.330
Rank: 1
Score:
1 min 51
Rank: 1
Score:
2 min 32
Rank: 1

Score:
2 min 53
Rank: 1

Score:
4 min 34
Rank: 1
Score:
2 min 36
Rank: 1
Score:
3 min 48
Rank: 1
Score:
2 min 21
Rank: 1
Score:
4 min 56
Rank: 1
Score:
2 min 25
Rank: 1

Score:
1 min 59
Rank: 1

Score:
3 min 45
Rank: 1

Score:
5 min 34
Rank: 1

Score:
591580
Rank: 1

Score:
111
Rank: 1

Score:
110
Rank: 1
Score:
99
Rank: 1
Score:
6
Rank: 1

Score:
273
Rank: 1

Score:
84
Rank: 1

Score:
89
Rank: 1

Score:
194
Rank: 1

Score:
99
Rank: 1

Score:
226
Rank: 1
Score:
3
Rank: 1

Score:
0
Rank: 1

Score:
80
Rank: 1
Score:
64
Rank: 1
Score:
54
Rank: 1
Score:
74
Rank: 1

Score:
111
Rank: 1
Score:
80
Rank: 1
Score:
64
Rank: 1
Score:
1 min 33
Rank: 1

Score:
2 min 11
Rank: 1

Score:
1 min 39
Rank: 1

Score:
4 min 07
Rank: 1

Score:
3 min 21
Rank: 1
Score:
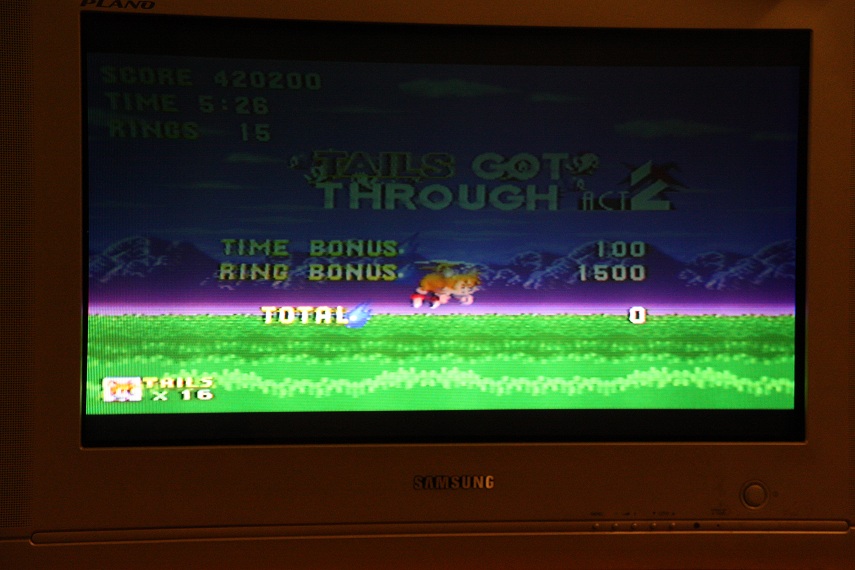
5 min 26
Rank: 1

Score:
2 min 32
Rank: 1

Score:
4 min 39
Rank: 1
Score:
2 min 56
Rank: 1
Score:
2 min 20
Rank: 1

Score:
4 min 10
Rank: 1

Score:
7 min 27
Rank: 1

Score:
549860
Rank: 1
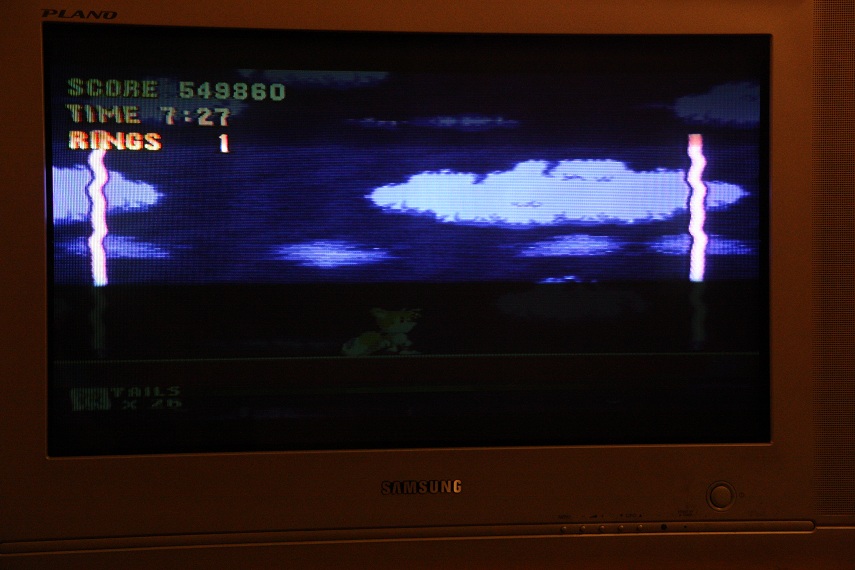
Score:
70
Rank: 1
Score:
54
Rank: 1
Score:
2
Rank: 1
Score:
3
Rank: 1

Score:
246
Rank: 1

Score:
15
Rank: 1
Score:
152
Rank: 1

Score:
1
Rank: 1

Score:
141
Rank: 1

Score:
145
Rank: 1

Score:
6
Rank: 1

Score:
1
Rank: 1

Score:
1:08.280
Rank: 1
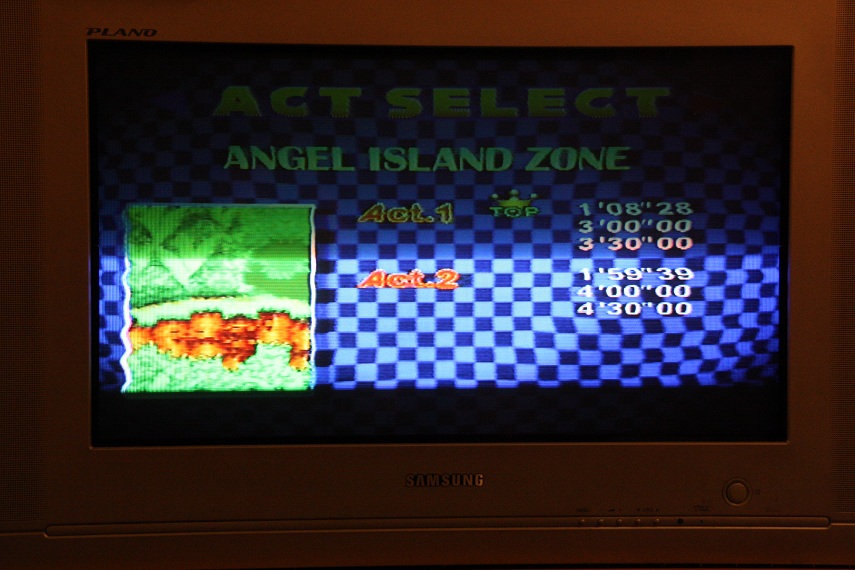
Score:
1:59.390
Rank: 1

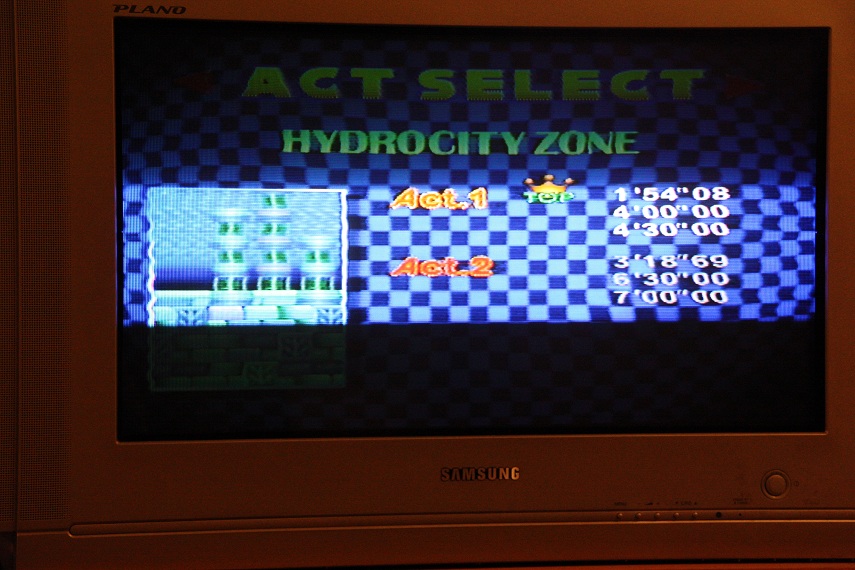
Score:
1:54.080
Rank: 1

Score:
3:18.690
Rank: 1
Score:
2:51.380
Rank: 1
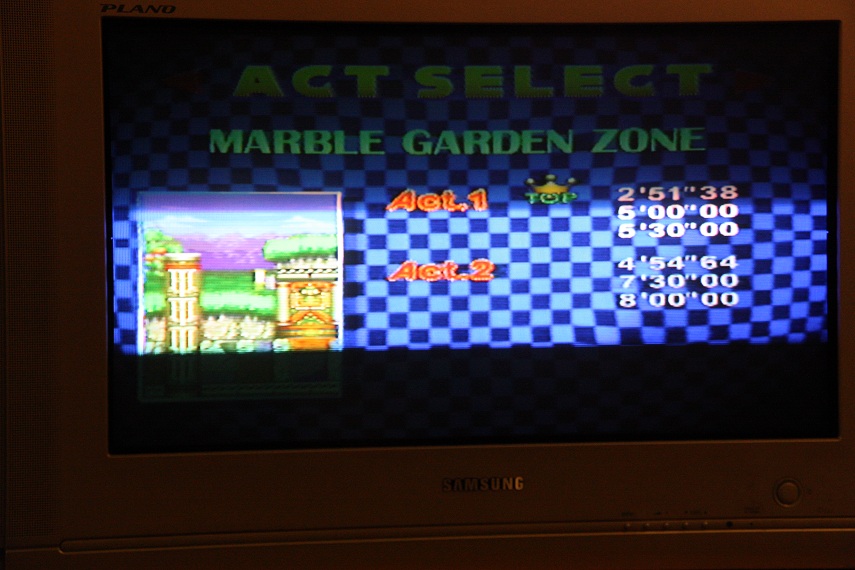
Score:
4:54.640
Rank: 1

Score:
2:14.180
Rank: 1

Score:
4:10.140
Rank: 1
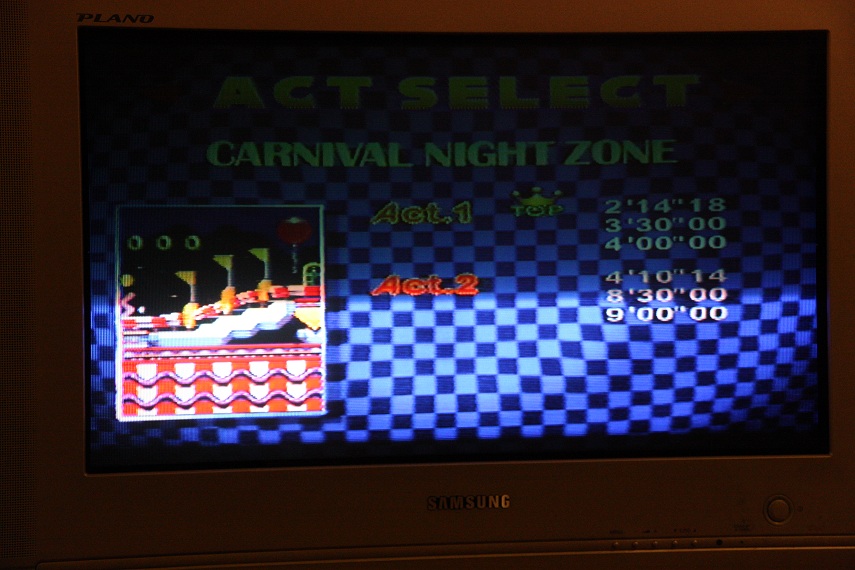
Score:
3:02.340
Rank: 1
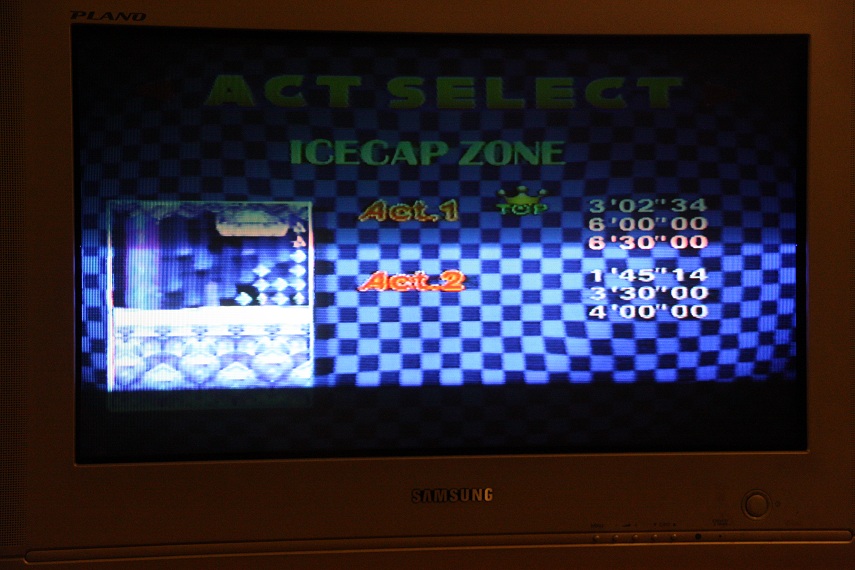
Score:
1:45.140
Rank: 1

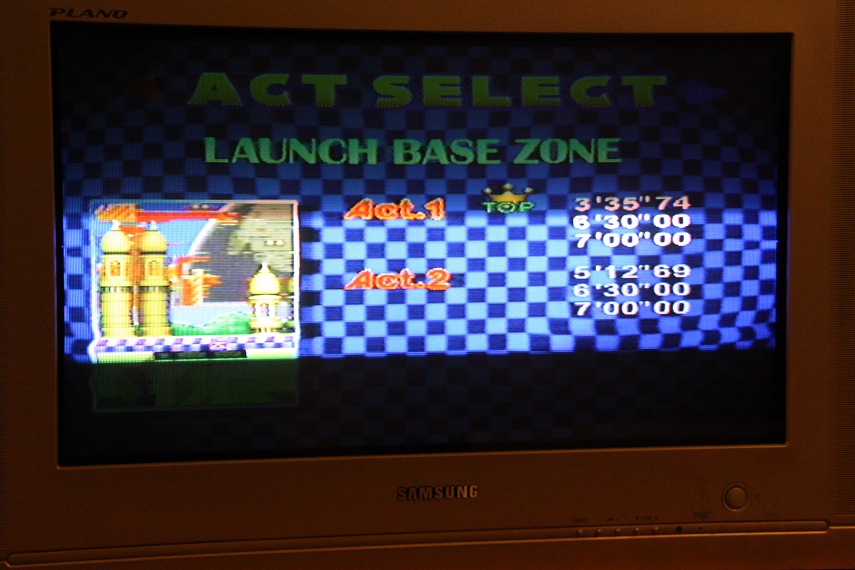
Score:
3:35.740
Rank: 1

Score:
5:12.690
Rank: 1
Score:
0:22.750
Rank: 1

Score:
0:43.200
Rank: 1

Score:
0:31.670
Rank: 1

Score:
0:32.590
Rank: 1

Score:
0:54.960
Rank: 1

Score:
0:23.100
Rank: 1
Score:
0:32.000
Rank: 1

Score:
0:40.720
Rank: 1

Score:
0:21.460
Rank: 1

Score:
0:58.500
Rank: 1

Score:
1:37.840
Rank: 1

Score:
0:49.280
Rank: 1

Score:
1:43.140
Rank: 1
